Sigma Online User Manual
Understanding the Approve and Issue Bills Activity
- Kim Blake
- Tom Anderton
- Graham Paul
There are two ways to access the Activity:
Opening the Approve and Issues Bills Activity
Opening the Approve and Issue Bills Activity
- Click on Tenant Approve and Issue Bills from the Welcome page
The Tenant Approve and Issue Bills Activity opens: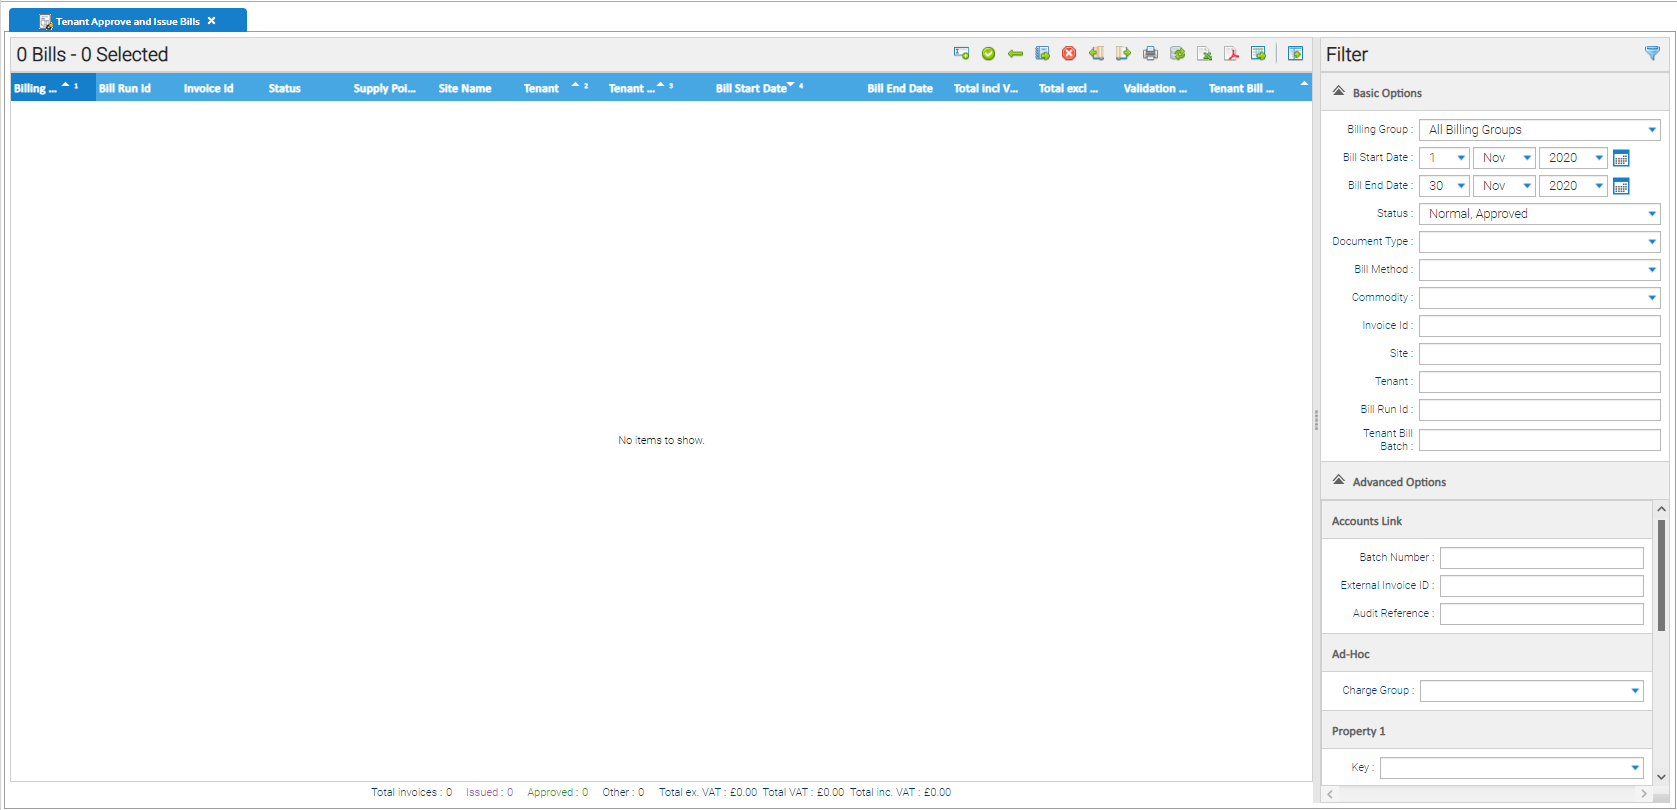
On entry:
- The Billing Group dropdown list is set to 'All Billing Groups'
- The Bill Start Date is set to the first day of the previous month
- The Bill End Date is set is set to the last day of the previous month
- No data is displayed in the Bills table
Moving to the Approve and Issue Bills Activity from the Tenant Bill Run Management Activity
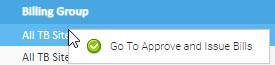
Alternatively, if you have created a Bill Run and want to see the Bills from that run you can link from Tenant Bill Run Management to Approve and Issue Bills Activity:
- Right click on the Tenant Bill Run
- Click Go to Approve and Issue Bills
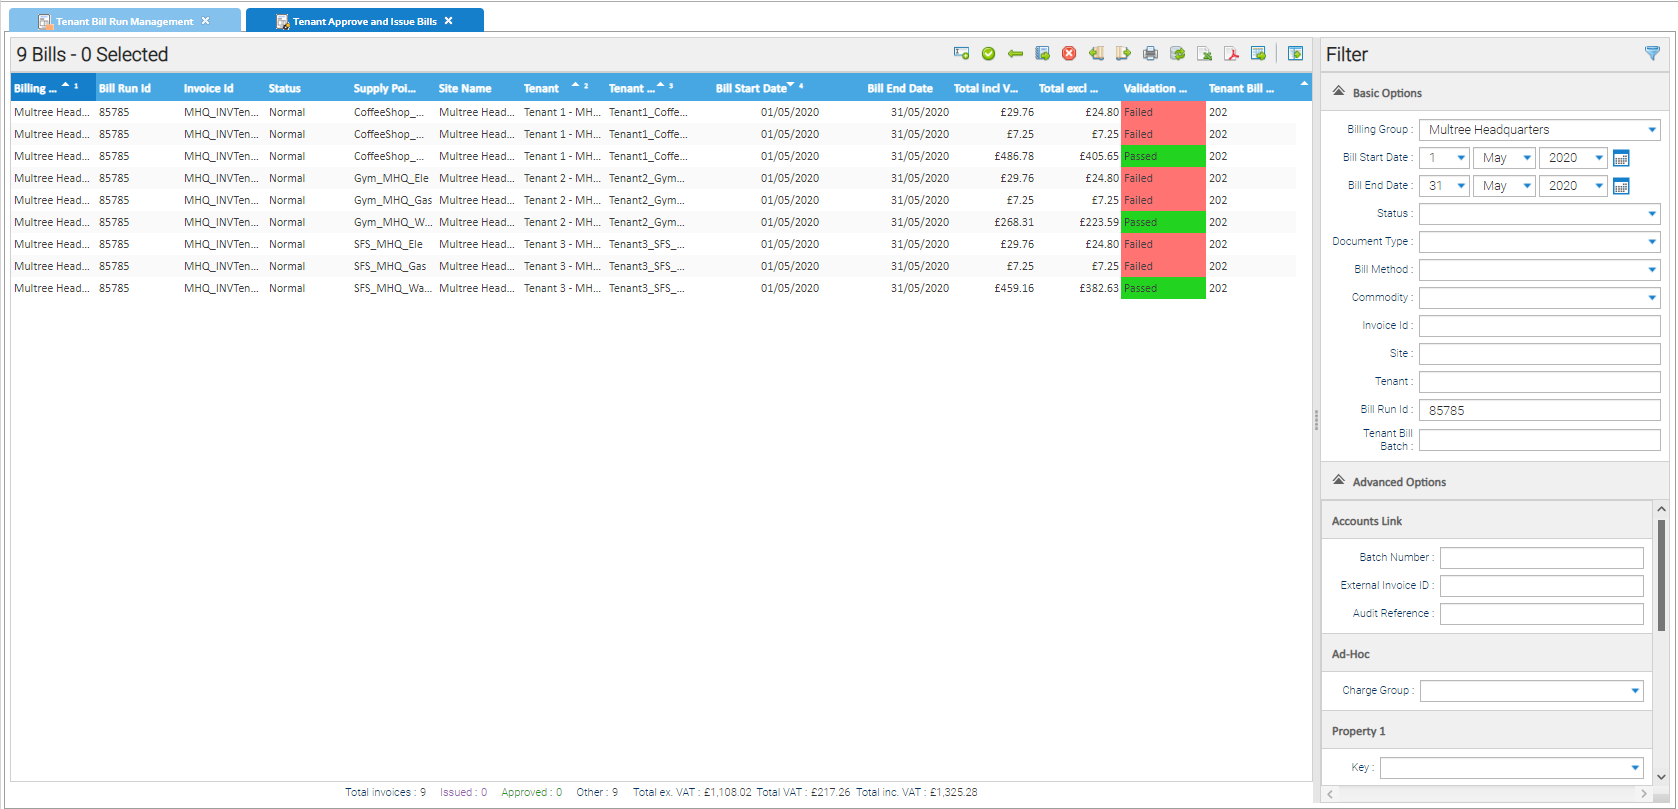
The Activity filtering will default to:
- The Billing Group
- The date range of the Bills
- Display the Batch Run id
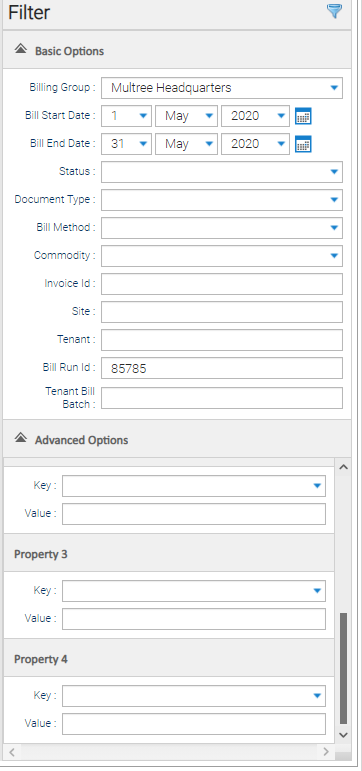
Filtering
To filter, use the filter options in the Bills section on the left of the screen.
Filtering options are:
Basic Options
| Field | Description |
|---|---|
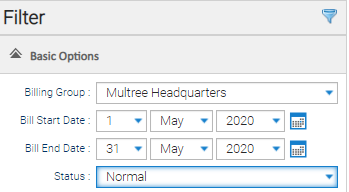
| Billing Group | Choose from the dropdown list (list of all Tenant Billing Groups) |
| Bill Start Date and Bill End Date | Enter the required Bill Period (either using the date pickers or entering date values in these fields) |
| Status | Select the required Status from the dropdown list (list of all Bill Statuses) to only include Tenant Bills with this value |
| Document Type | Select the required Document type from the dropdown list (Invoice or Credit Note) to only include Tenant Bills with this value |
| Bill Method | Select the required Bill Method from the dropdown list (Periodic or Ad-hoc) to only include Tenant Bills with this value |
| Commodity | Select the required Commodity from the dropdown list (list of all Commodities) to only include Tenant Bills with this value |
| Invoice Id | Enter a value in the text field to only include Tenant Bills with an Invoice ID that includes this value |
| Site | Enter a value in the text field to only include Tenant Bills linked to a Site that includes this value in the Site Name |
| Tenant | Enter a value in the text field to only include Tenant Bills linked to a Tenant that includes this value in the Tenant Name |
| Tenant Bill Batch | Enter a value in the text field to only include Tenant Bills with this value. |
Advanced Options
| Field | Description |
|---|---|
| Property Key 1 | Select the required Property Key from the dropdown list (list of all character-based Property Keys that can be applied at Global or Tenant Account level) and enter a value in the text field to only include issued Tenant Bills linked to Tenant Accounts with the selected Property Key that includes this value. |
| Property Key 2 | Select the required Property Key from the dropdown list (list of all character-based Property Keys that can be applied at Global or Tenant Account level) and enter a value in the text field to only include issued Tenant Bills linked to Tenant Accounts with the selected Property Key that includes this value. |
| Property Key 3 | Select the required Property Key from the dropdown list (list of all character-based Property Keys that can be applied at Global or Tenant Account level) and enter a value in the text field to only include issued Tenant Bills linked to Tenant Accounts with the selected Property Key that includes this value. |
| Property Key 4 | Select the required Property Key from the dropdown list (list of all character-based Property Keys that can be applied at Global or Tenant Account level) and enter a value in the text field to only include issued Tenant Bills linked to Tenant Accounts with the selected Property Key that includes this value. |
When you have chosen your filtering options:
- Click
 to see the results
Note: If you have run more than one test run for a period, you will see the bills more than once in the table.
Note: If you have run more than one live run, you will see a cancelled bill and then a bill.
Tip: If you have run Test Runs and Live Runs and you want to see just the Live Runs, filter as follows:
Note: A maximum of 4,000 Tenant Bills are displayed.
If the selected filter options / criteria have returned more than 4,000 Tenant Bills a Note pop-up is displayed:
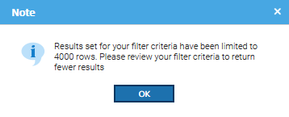
- Click OK to close the Note pop-up
Available Options
There are 13 options at the top of the page:

| Icon | Name |
|---|---|
| Enter External Invoice ID |
| Approve Bill |
| Undo Approval |
| Issue Bill |
| Cancel Bill |
| Withdraw Bill |
| Withdraw and Rebill |
| Print Bill |
| Energy Intelligence Actions |
| Export to Excel |
| View Aggregate PDFs |
| View Aggregate Consumption CSVs |
| Expand the screen (removes the filter) |


Changing the display (adding/hiding columns)
To add/hide columns, click on the downward arrow on the Column Header
- Click on Columns

- Tick / Untick to add / hide Columns
Click here to see a full list of the available columns.
Summary field
A summary appears at the bottom of the screen

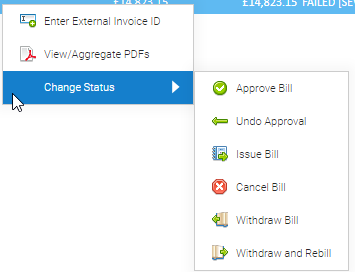
Right click options
Each bill can be assessed individually by using the right click option.
- Right click on the Bill
- Choose from the list

Alternatively, if you choose more than one bill:
- Highlight the Bills
- Choose from the list
Printing the Tenant Bill Table
To print the contents of the Bills table:
- Click on the Print Bill icon at the top of the screen

The Print Preview pop-up opens showing details of all the Tenant Bills currently displayed in the Bills table according to the columns that are currently enabled.
The selected Tenant Bill(s) are also highlighted

- Click Print to print the details

Exporting Bills to Excel
To export details of Tenant Bills to Excel:
- Click Export to Excel at the top of this section

- An Excel document is download

Energy Intelligence Options
This enables you to refresh the Tenant Billing related data in Sigma Energy Intelligence.
- Click Energy Intelligence Actions

The Energy Intelligence Actions pop-up opens.
The table provides a view of the last 10 refresh actions.
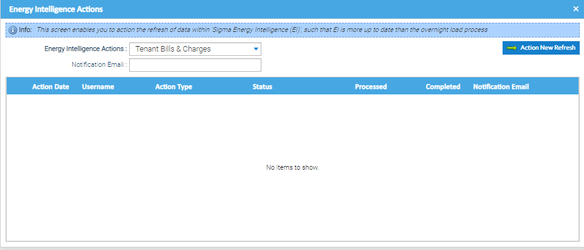
| Field | Description |
|---|---|
| Energy Intelligence Actions | Choose from the dropdown |
| Notification Email | Enter an email address to receive a notification the refresh has been actioned (not mandatory) |
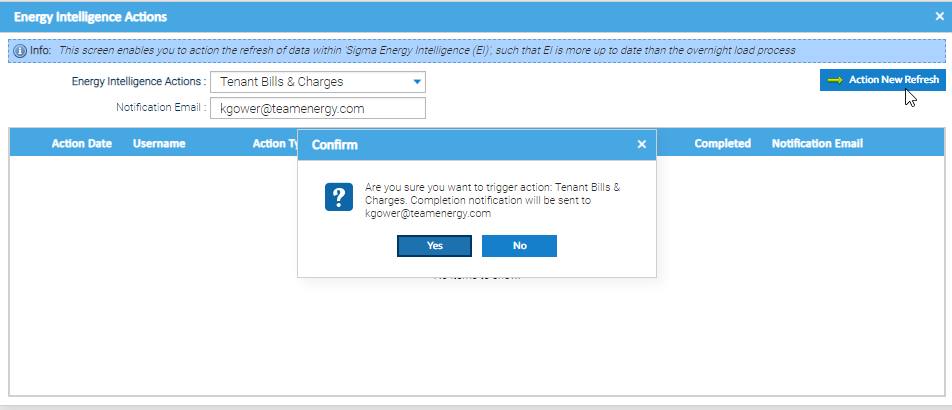
| Click to action the refresh. click Yes on the pop-up |

- The refresh is displayed with a status of Pending
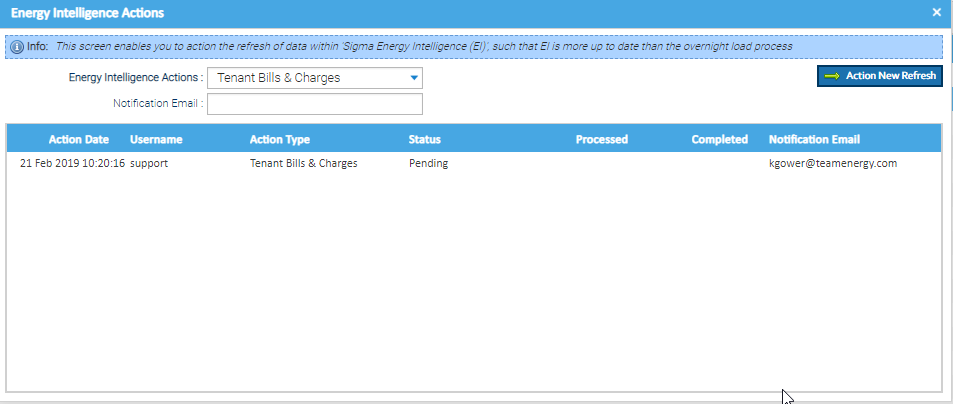
When the refresh has been actioned, the status will be updated to Complete.
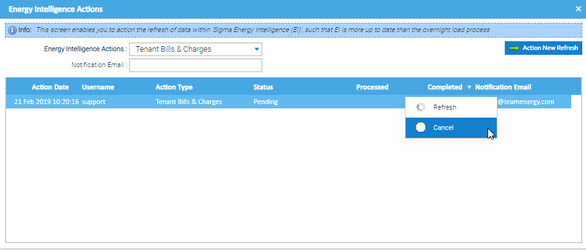
Cancelling a Refresh
Right click on the refresh line
Click Cancel
- Click on the X to close the pop-up
Refreshing the pop-up
To check in the refresh has completed:
- Right click on the pop-up
- Click Refresh
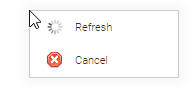
The updated status will show.
Once complete, go to Energy Intelligence to run reports with the refreshed data.
Related content
@ Copyright TEAM - Energy Auditing Agency Limited Registered Number 1916768 Website: www.teamenergy.com Telephone: +44 (0)1908 690018