Sigma Online User Manual
Generating an Accounts Extract
- Kim Blake
- Tom Anderton
- Graham Paul
Introduction
The Tenant Accounts Link Generator Activity is used to generate Export Files, Control Files and Summary Reports containing details of one or more issued Tenant Bills. Tenant Bills are approved and issued using the Tenant Approve and Issue Bills Activity
An Export File is compatible with and can be loaded directly into an external Financial System. A Control File is generated at the same time as an Export File and provides details of all the Tenant Bills included in the Export File.
A Summary Report can also be generated to provide details of any ad-hoc selection of issued Tenant Bills.
When Export Files are generated (using the live run option) the issued Tenant Bills included in the export are marked as 'exported' and are stamped with a unique Batch Number.
Within the Tenant Accounts Link Generator Activity you can:
- Find, filter and select issued Tenant Bills to be exported
- Generate Export Files and Control Files containing details of issued Tenant Bills
- Generate Summary Reports containing details of issued Tenant Bills
Once Export Files, Control Files and Summary Reports have been generated, they can be viewed and downloaded using the Accounts Link Download Activity. Export Files can then be transferred to an external Financial System by either downloading the File or sent to a specified location using FTP.
For more information on how to set up the FTP Connection, click on the link.
Accessing the Tenant Accounts Link Generator Activity
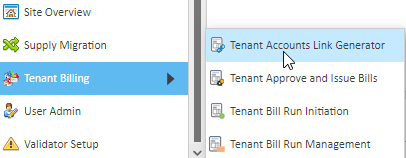
- Click Tenant Accounts Link Generator in the Sigma Welcome Screen

or
- Select Tenant Billing from the Sigma Browser Activities dropdown list
- Select the Tenant Accounts Link Generator sub-menu item:
The Tenant Accounts Link Generator screen opens as shown below:
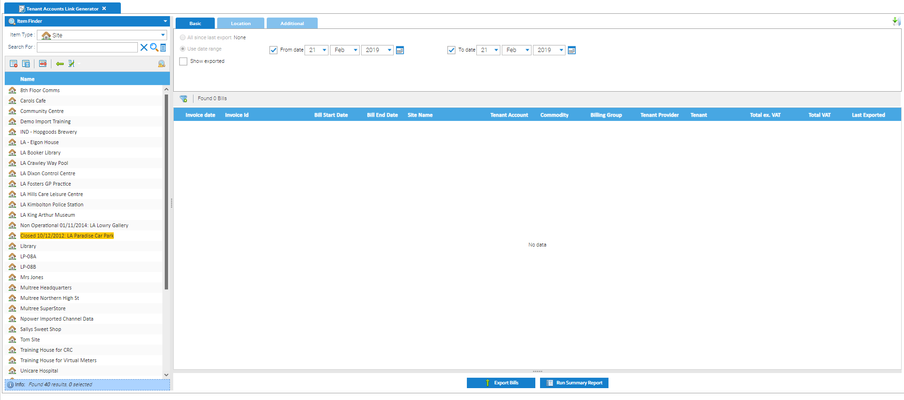
If no exports have previously been run:
- The Use date range option is selected
- The From date checkbox is ticked and the date field is set to the current date
- The To date checkbox is ticked and the date field is set to the current date
- No data is displayed in the Bills table and the Basic tab is displayed
If an export has previously been run:
- The All since last export option is selected and the date/time of the last export is displayed
If an export has not previously been run:
- The Use date range option is selected
- The From date checkbox is ticked and the date field is set to the current date
- The To date checkbox is ticked and the date field is set to the current date
- No data is displayed in the Bills table and the Basic tab is displayed
Selecting Tenant Bills to be exported
If you do not want export those showing on screen, specify the Tenant Bills using the filtering options on the three tabs:
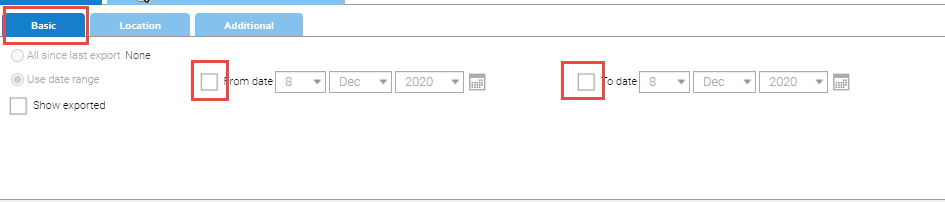
Basic tab
| Field | Description |
|---|---|
| All since last export | This option is used to view all issued Tenant Bills that have been issued since the last export |
| Use date range | Enter date values in the From date and/or To date fields (either directly or using the date pickers) to view all issued Tenant Bills that are within this date range, i.e. where the Bill Start Date is on or after the From date and the Bill End Date is on or before the To date |
| Show exported | Tick the checkbox to include issued Tenant Bills that have previously been exported |

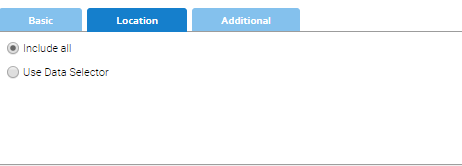
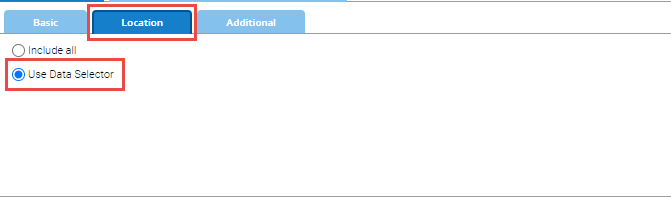
Location tab
| Field | Description |
|---|---|
| Include all | Tick the checkbox to include all issued Tenant Bills |
| Use data selector | Tick the checkbox to include all issued Tenant Bills linked to items selected in the Data Selector, e.g. selected Tenants |
Additional tab
| Field | Description |
|---|---|
| Only include Commodity | Tick the checkbox and select the required Commodity from the dropdown list (list of all Commodities) to only include issued Tenant Bills linked to Tenant Accounts with Commodity set to this value |
| Only include Organisation | Tick the checkbox and select the required Organisation from the dropdown list (list of all Organisations) to only include issued Tenant Bills linked to the selected Organisation. |
| Only include Tenant Provider | Tick the checkbox and select the required Tenant Provider from the dropdown list (list of all Tenant Providers) to only include issued Tenant Bills linked to the selected Tenant Provider. |
| Only include Tenant | Tick the checkbox and enter a value in the text field to only include Tenant Bills linked to a Tenant that includes this value in the Tenant Name |
| Property Key 1 | Tick the checkbox, select the required Property Key from the dropdown list (list of all character-based Property Keys that can be applied at Global or Tenant Account level) and enter a value in the text field to only include issued Tenant Bills linked to Tenant Accounts with the selected Property Key set to this value |
| Property Key 2 | Tick the checkbox, select the required Property Key from the dropdown list (list of all character-based Property Keys that can be applied at Global or Tenant Account level) and enter a value in the text field to only include issued Tenant Bills linked to Tenant Accounts with the selected Property Key set to this value. |
| Property Key 3 | Tick the checkbox, select the required Property Key from the dropdown list (list of all character-based Property Keys that can be applied at Global or Tenant Account level) and enter a value in the text field to only include issued Tenant Bills linked to Tenant Accounts with the selected Property Key set to this value. |
| Property Key 4 | Tick the checkbox, select the required Property Key from the dropdown list (list of all character-based Property Keys that can be applied at Global or Tenant Account level) and enter a value in the text field to only include issued Tenant Bills linked to Tenant Accounts with the selected Property Key set to this value. |

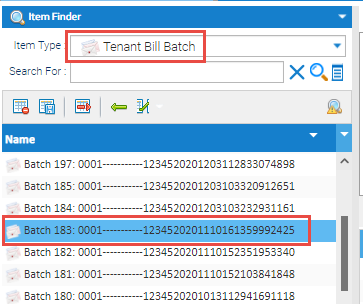
Selecting the Bills in a Tenant Bill Batch
Use the tabs and Data Selector, select as follows:
- Change the Item in the Item Finder from Site (default) to Tenant Bill Batch
- Highlight the Tenant Bill Batch you want to export
- From the Basic tab, untick the From and To dates
- From the Location tab, tick Use Data Selector
Once you have made your selection using one of the above methods:
- Click on the Apply Filter to update the Bill Table
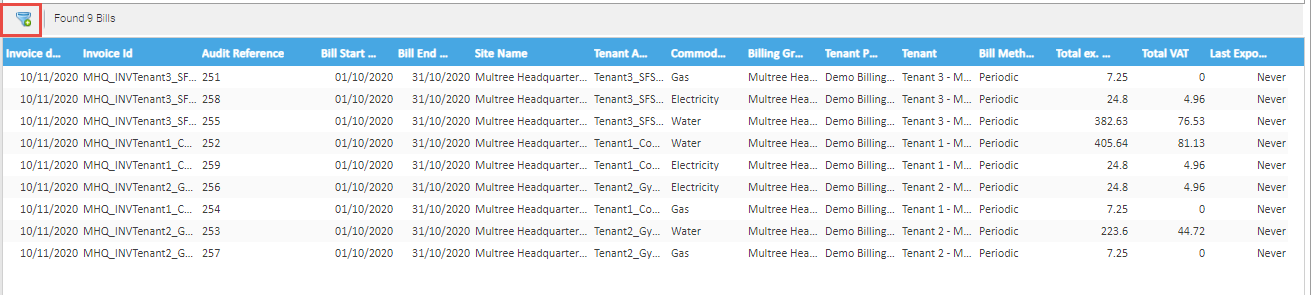
Note the number of Bills found (9) and cross reference the Bills in the Approve and Issue Bills Activity if required.
Also note that only Issued bills can be exported.
Generating a Summary Report
Summary Reports can be used to check details of one or more issued Tenant Bill before exporting.
- With the required batch of 'Issued' Tenant Bills displayed in the Bills table, click Run Summary Report

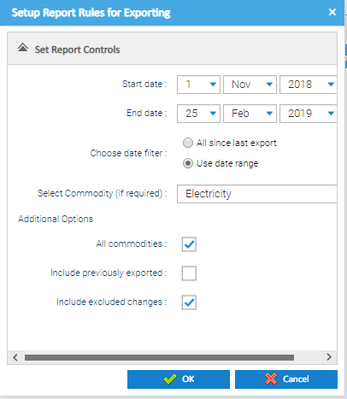
The Setup Report Rules for Exporting pop-up opens
Setup the following reporting rules:
- Ensure the date range defined by the Start date and End date fields covers the creation dates of the Tenant Bills to be included in the Summary Report
- Leave all other reporting rules in the Setup Report Rules for Exporting pop-up unchanged.
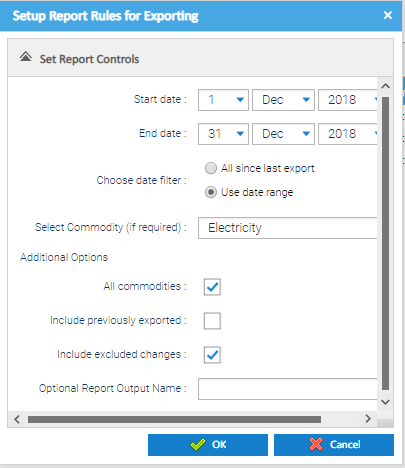
- Click OK
The Setup Report Rules for Exporting pop-up closes and the Accounts Link Download Activity opens in a new Sigma browser tab. From here it is possible to view/download the Summary Report
- Once loaded, click Excel or PDF to open
Exporting the Tenant Bills
To generate an Export File:
- Click

The Setup Report Rules for Exporting pop-up opens.
Setup the following reporting rules:
- Ensure the date range defined by the Start date and End date fields are the same as entered in the Tenant Accounts Link Generator Activity
- Tick the Live run checkbox
- Leave all other reporting rules in the Setup Report Rules for Exporting pop-up unchanged.
- Click OK
The Setup Report Rules for Exporting pop-up closes and the Accounts Link Download Activity opens in a new Sigma browser tab. From here it is possible to view/download the Export File and Control File
The Account Link Download Activity will open and show an Excel and a PDF icon
Viewing the File
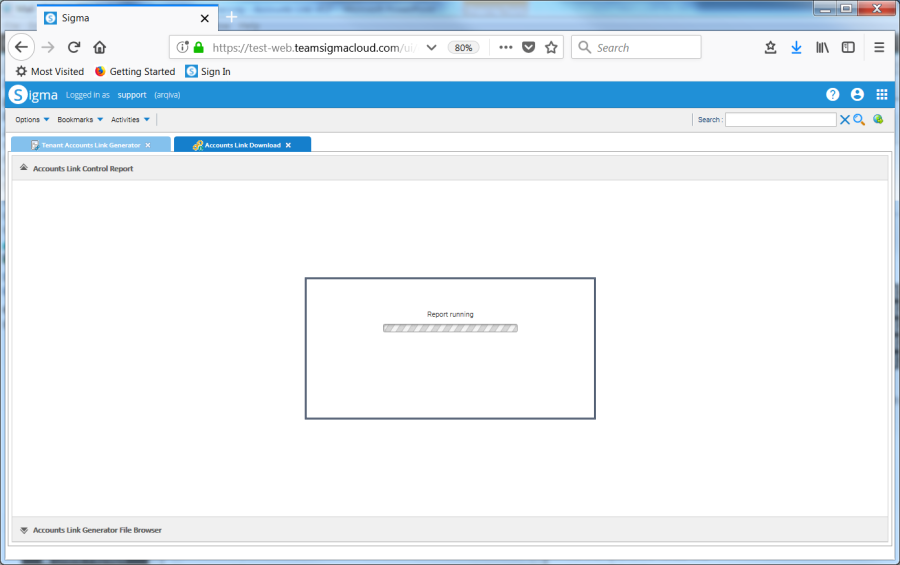
The Accounts Link Download Activity automatically opens in a new tab, with the prompt of 'Report Running'
When the report task is complete, the Control File or Summary Report is displayed:
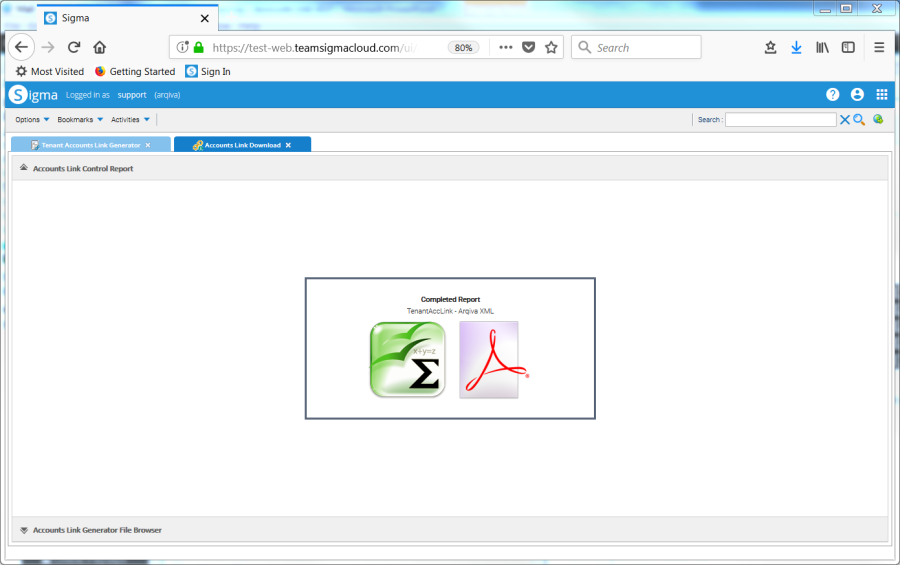
From here it is possible to download the Control File or Summary Report
- Click on the Excel or PDF icon to open the file
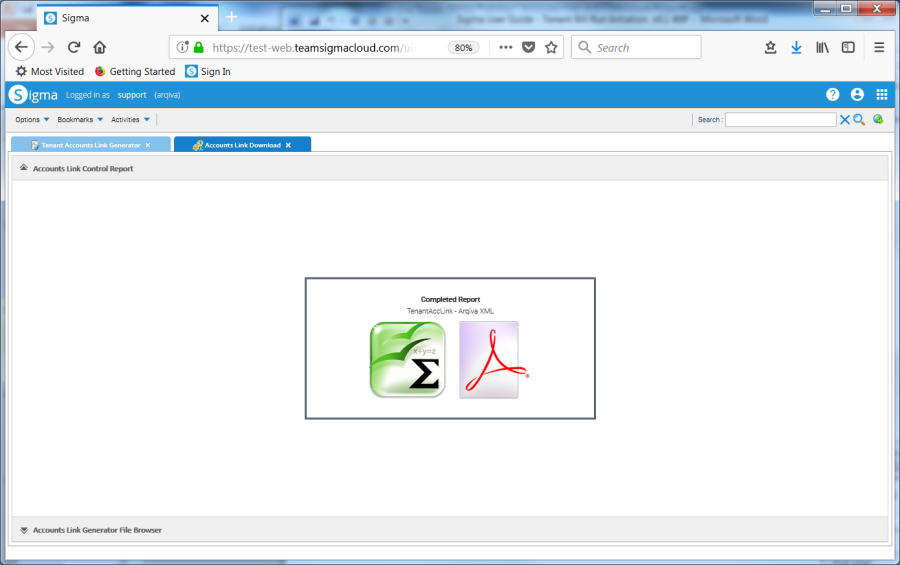
You can view this file and previous run files within this Activity (or open the Accounts Link Download Activity)
- Click on the grey bar at the bottom to open the Accounts Link Generator File Browser section

Downloading/Exporting an Accounts Extract
For more details on viewing the Files and how to download, click on Downloading an Accounts Extract.
Related content
@ Copyright TEAM - Energy Auditing Agency Limited Registered Number 1916768 Website: www.teamenergy.com Telephone: +44 (0)1908 690018