Sigma Online User Manual
Importing EDI Files Automatically
- Kim Blake
- Tom Anderton
- Graham Paul
Introduction
EDI files can be imported into Sigma using the Importing Activity. This allows you to have the EDI files sent to an email address or to a folder on your server and Sigma will then automatically collect the file and import the data.
There are two steps to setting up the Importing:
1. Create a POP3 email account (such as Gmail)
OR
Create a Folder on your own Server (FTP)
2. Set up the Importer in Sigma
**Click here for a pre recorded training session for additional help and guidance - EDI Automation which includes how set up EDI Automation, view the automatic schedule and email notifications
Using a POP3 Email Account
Set up a POP3 Email address, or ask Support about how we can help with Email Accounts.
Each time Sigma goes to the Email account, it will look for any unopened emails (with an attachment).
It is important to ensure the settings on the Email Account are set to mark the message as read when accessed by Sigma.
Below is an example of a Gmail Account.
You can see that it is set so that: When messages are accessed with POP - mark Gmail's copy as read
![]()
Using FTP
FTP stands for File Transfer Protocol and is a standard method for transferring computer files over local networks and the internet.
A Folder will need to be set up on your own Server. It is suggested that you contact your IT department for more information on where the Folder should be located.
Once this has been established, EDI files would then need to be saved into the folder and Sigma would periodically go to the folder to retrieve them.
More information in importing via FTP can be found here.
Opening Importing Activity
- Open the Importing Activity

Adding the Importer
- Click Schedule to open the Choose Importer screen

- Click

- Type EDI in the Data Source
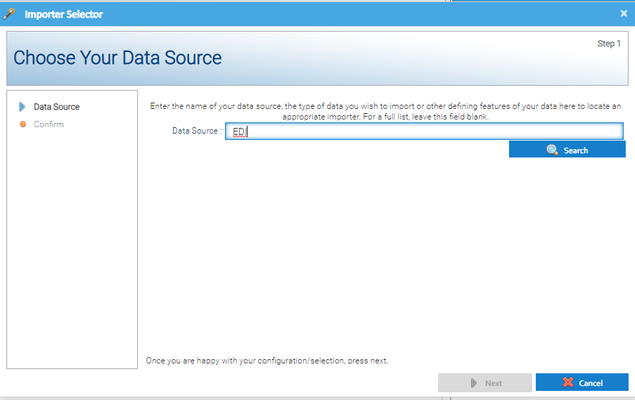
- Click Search to open the data Source Search Results screen
- Highlight the EDI File Importer

- Click OK to open the Importer Selector screen
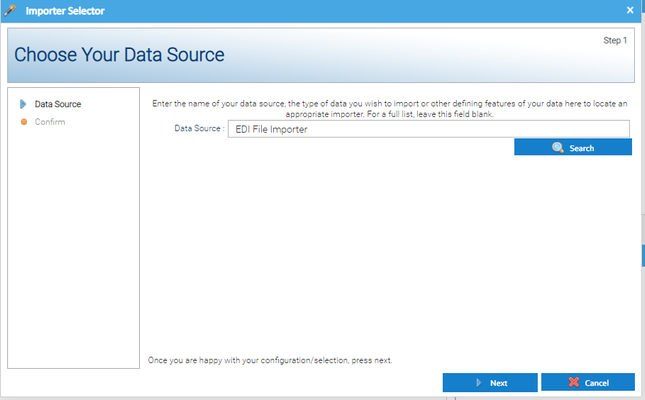
- Click Next
- Click Finish to return to the Importer Activity
Setting up the Import
- Highlight the EDI File Importer
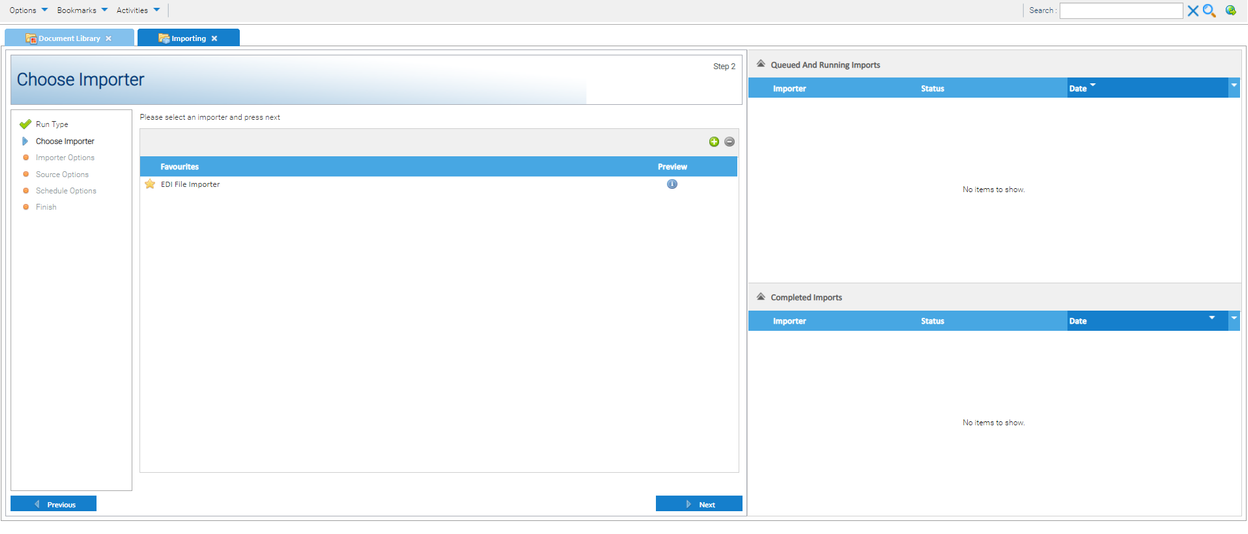
- Click Next to open the Importer Options screen
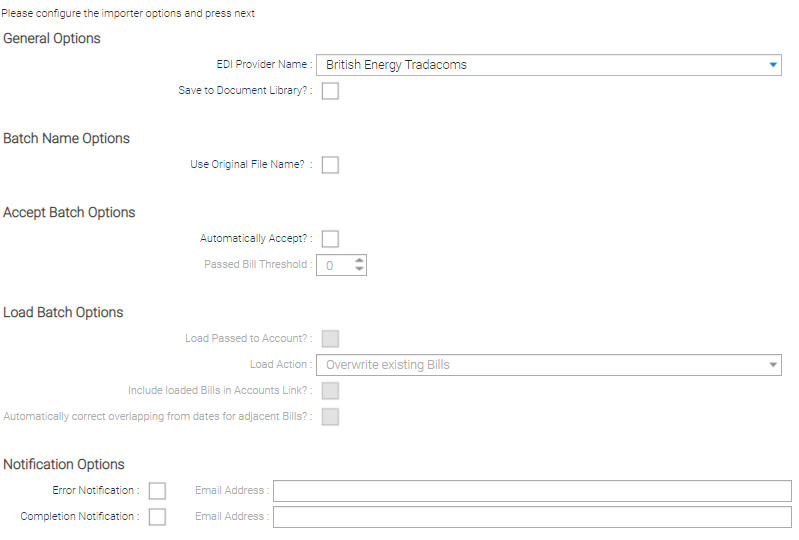
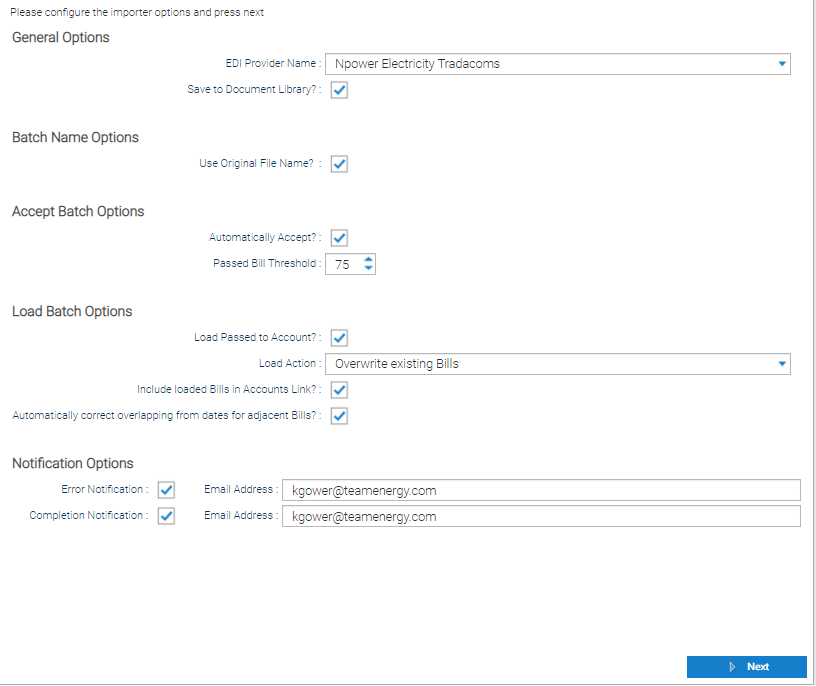
There are 5 sections to complete:
- General Options
- Batch Name Options
- Accept Batch Options
- Load Batch Options
- Notification Options
General Options
Field - General Options | Description |
|---|---|
| EDI Provider Name | Choose from the dropdown list (the EDI Provider must be in Sigma for it to appear in the list) If the Provider doesn't show, it will need to be added. |
| Save to Document Library | Tick if you want to save the File into to Document Library Activity in Sigma after it has been submitted for processing. |

Batch Name Options
Tick to allow Sigma to use the original filename to name the Batch that gets created when the EDI file is being loaded and processed. This can help with business processes, ensuring the name visible within the Sigma screens is the same as the file loaded.
Alternatively, unticked, allows the name to be left as is ie, the batch name is system derived.

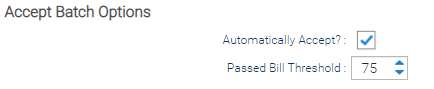
Accept Batch Options
Field - Accept Batch Options | Description |
|---|---|
| Automatically Accept? | Tick to automatically accept the Batch after it has been processed. If left unticked, the Batch can be accepted in the Batch Management Activity once the file has loaded. |
| Passed Bill Threshold | This is used to determine whether the file should be automatically accepted. Enter a figure, for example 95. This means that if 95% of the bills are 'passed', then Sigma will automatically accept the Batch (if the Automatically Accept? field is ticked). If left at 0, the batch can be accepted manually in the Batch Management Activity. |
Load Batch Options
Field - Load Batch Options | Description |
|---|---|
| Load Passed to Account? | Tick to load all Passed Bills to the Accounts so that they show as Loaded in the Batch Management Activity, once the batch has been accepted. If unticked, this is then managed in the Batch Management Activity |
| Load Action | Choose from the dropdown
|
| Include loaded Bills in Accounts Link | Tick if you want the Bills to be included in the Accounts Link Activity for the bills that are automatically loaded to the Account. |
| Automatically correct overlapping from dates for adjacent Bills? | Tick if you want to automatically correct overlapping bills. |

Notification Options
Field - Notification Options | Description |
|---|---|
| Error Notification | Tick and enter a valid email address if you want to receive an Email for an errors. |
| Completion Notification | Tick and enter a valid email address if you want to receive an Email upon completion of the upload. |
Note: more than one email can be added - use a comma (,) between the addresses.

For more information on Notifications emails, click here.
Once completed
- Click Next to open the Source Options screen
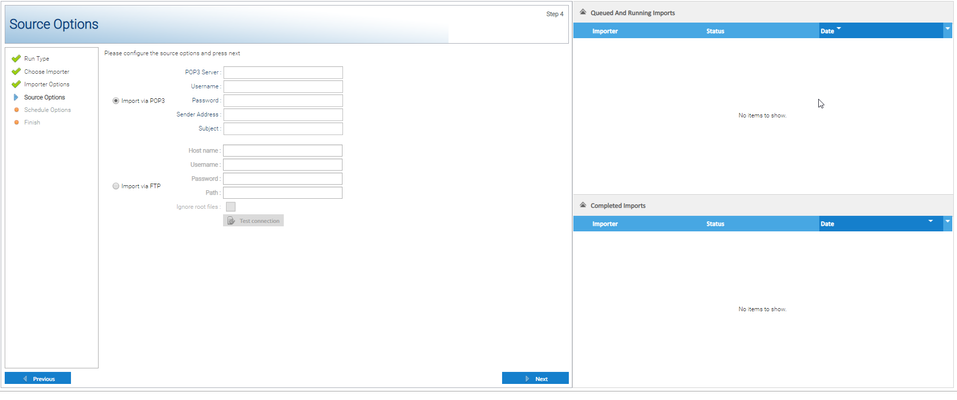
Source Options - Choosing POP3 or Import via FTP
Choose either Import via POP3 OR Import via FTP
Import via POP3
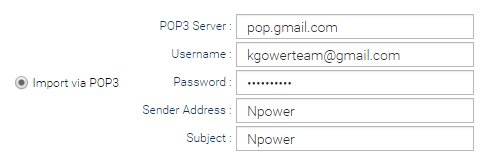
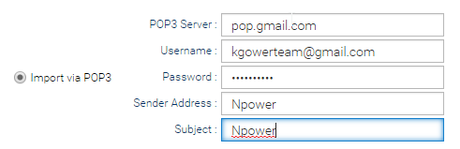
- Tick Import via POP3
![]()
- Enter the POP3 email details:
| Field | Description |
|---|---|
| POP3 Server | Enter the POP3 Server address, for example pop.gmail.com |
| Username | The email address where the EDI files will be sent to |
| Password | The password of the above email address |
| Sender Address | Optional: Enter the Senders email address, or a partial address - the file will only be loaded if the email contains the Sender Address. Useful if you are have more than one EDI Supplier sending emails to the one email address. |
| Subject | Optional: Enter the Senders subject, or a partial subject - the file will only be loaded if the email contains the Subject. Useful if you are have more than one EDI Supplier sending emails to the one email address. Note: the filter is case insensitive and partial matches will be returned e.g. entering 'Npower' would find messages with the subject 'New nPower bill for 04/2019' |
Note: If you add a Sender Address AND a Subject, the email will need to contain BOTH in order for it to be loaded.
Import via FTP
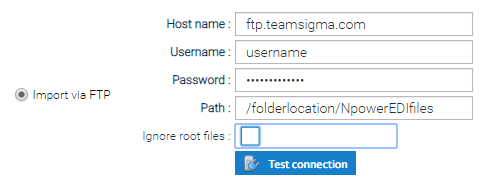
- Tick Import via FTP
![]()
- Enter the FTP details: (you may need to contact your IT Department for assistance with this)
| Field | Description |
|---|---|
| Host Name | As given by your IT Department |
| Username | as above |
| Password | as above |
| Path | as above |
| Ignore root files | Tick to ignore root files |
- Click

If successful, you will get the following prompt:

If unsuccessful, you will get the following prompt:

(Contact your IT Department for advise if the FTP connection could not be established)
Completing the set up
Once you have selected POP3 or FTP:
- Click

Notification Options
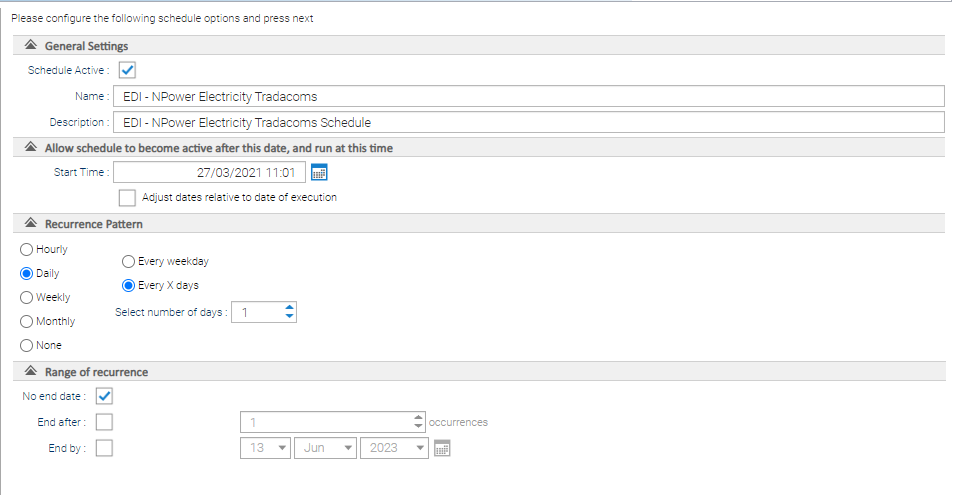
General Settings
Field | Description |
|---|---|
| Schedule Active | Pre ticked |
| Name | Pre-filled with the name Tip! Prefix the name with EDI so that it is easily recognised in the Schedule Management Activity, for example EDI - NPower Electricity Tradacoms |
| Description | Pre-filled with the description - amend if required |
Allow schedule to become active after this date, and run at this time
Field | Description |
|---|---|
| Start Time | Amend the time to show what time of day you want to run the import. |
| Adjust dates relative to date of execution | N/A |
Recurrence Pattern
Field | Description |
|---|---|
| Hourly, Daily etc | Tick how often you want to run the schedule |
Range of recurrence
Field | Description |
|---|---|
| No end date | Tick if no end date is required. |
| End after | Tick if you only want to run it for a particular amount of occurrences. Then enter the number of occurrences |
| End by | Tick and add an end date for the schedule. |
Once completed:
- Click
 to open the Finish screen
 - Click
 to activate the schedule
 - Click
 to complete the set up
Using more than one EDI Supplier with POP3
If you have more than one EDI Supplier, you do not need to set up anymore email accounts, but you will need additional Schedules.
Ensure you enter Sender Address and or Subject in each schedule to reflect the Supplier.
For example, if you receive EDI files from 4 separate Suppliers, you will need to do the following:
- Set up one Email address
- Set up 4 separate Schedules (one for each Supplier)
- Enter the Sender Address (or partial address) and / or Email Subject (or partial email subject) in each schedule
Using more than one EDI Supplier with an FTP
If you have more than one EDI Supplier, you will need more than one Folder and Schedule.
For example, if you receive EDI files from 4 separate Suppliers, you will need to do the following:
- Set up 4 Folders (one for each Supplier)
- Set up 4 Schedules (one for each Supplier, and configured to look at the relevant folder)
Forcing the Importer to run
For example, you may have your Importer set to collect EDI files from your Email account once a day at 03:00. A file has been sent to you and you urgently want to load that file.
Complete the following:
- Open the Schedule Management Activity
- Right click on the Schedule
- Click Run Now

This will activate the Schedule so that Sigma goes to the Email Account and looks for any unopened emails.
If there are any unopened emails (with an attachment), Sigma will download them, providing they meet the criteria that has been set as if the schedule was running automatically (i.e. the Sender and/or Email address match).
Related content
@ Copyright TEAM - Energy Auditing Agency Limited Registered Number 1916768 Website: www.teamenergy.com Telephone: +44 (0)1908 690018