Once the Tenant Bill Run has been initialised (Tenant Bill Run Initiation Activity) and you can see it in the Tenant Bill Run List (Tenant Bill Run Management Activity), the next step is to Approve and Issue the bills.
From the Tenant Approve and Issue Bills Activity, you can:
Understand the Activity:
Understand the functions:
Bill Actions:
Activity Actions:
Understanding the Approve and Issue Bills Activity
Click on Tenant Approve and Issue Bills from the Welcome page
The Tenant Approve and Issue Bills screen opens:
On entry:
- The Billing Group dropdown list is set to 'All Billing Groups'
- The Bill Start Date is set to the first day of the previous month
- The Bill End Date is set is set to the last day of the previous month
- No data is displayed in the Bills table
Alternatively, to move from Tenant Bill Run Management to the Approve and Issue Bills Activity:
Right click on the Tenant Bill Run
Click Go to Approve and Issue Bills
Filtering
To filter, use the filter options in the Bills section at the top of the screen.
Filtering options are:
| Field | Description |
|---|---|
| Billing Group | Choose from the dropdown list (list of all Tenant Billing Groups) |
| Bill Start Date and Bill End Date | Enter the required Bill Period (either using the date pickers or entering date values in these fields) |
| Include only Site | Tick the checkbox and enter a value in the text field to only include Tenant Bills linked to a Site that includes this value in the Site Name |
| Include only Tenant | Tick the checkbox and enter a value in the text field to only include Tenant Bills linked to a Tenant that includes this value in the Tenant Name |
| Include only Status | Tick the checkbox and select the required Status from the dropdown list (list of all Bill Statuses) to only include Tenant Bills with Status set to this value |
| Include only Batch Number | Tick the checkbox and enter a value in the text field to only include Tenant Bills with a Batch Number that includes this value. Note: Batch Numbers are applied to issued Tenant Bills that have been exported to an external Financial System |
| Include only External Invoice ID | Tick the checkbox and enter a value in the text field to only include Tenant Bills with an External Invoice ID that includes this value |
| Property Key 1, 2, 3 and 4 | Tick the checkbox, select the required Property Key from the dropdown list (list of all character-based Property Keys that can be applied at Global or Tenant Account level) and enter a value in the text field to only include issued Tenant Bills linked to Tenant Accounts with the selected Property Key that includes this value. |
When you have chose your filtering options:
Click
Note: If you have run more than one test run for a period, you will see the bills more than once in the table.
Note: If you have run more than one live run, you will see a cancelled bill and then a bill.
Tip: If you have run Test Runs and Live Runs and you want to see just the Live Runs, filter as follows:
Click to see the results
Note: Up to 4,000 Tenant Bills are displayed.
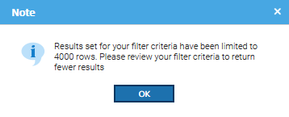
If the selected filter options / criteria have returned more than 4,000 Tenant Bills a Note pop-up is displayed:
Click OK to close the Note pop-up
Viewing the results (adding/hiding columns)
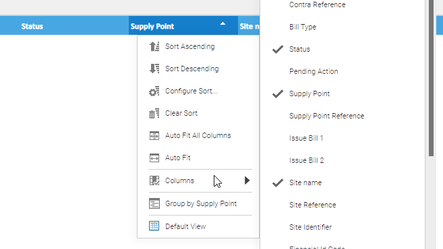
To add/hide columns, click on the downward arrow on the Column Header
Click on Columns
Tick / Untick to add / hide Columns
Click here to see a full list of the available columns.
Summary field
A summary appears at the bottom of the screen
Right click options
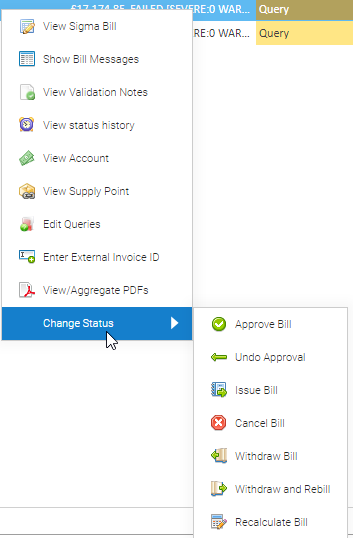
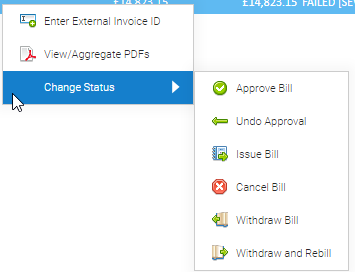
Each bill can be assessed individually by using the right click option.
Alternatively, if you choose more than one bill, you have the following options
Printing the Tenant Bill Table
To print the contents of the Bills table:
Select one or more Tenant Bills and click on the Print Bill icon at the top of the screen
The Print Preview pop-up opens showing details of all the Tenant Bills currently displayed in the Bills table according to the columns that are currently enabled. The selected Tenant Bill(s) are also highlighted
Click Print to print the details
Exporting Bills to Excel
To export details of Tenant Bills to Excel:
Click Export to Excel at the top of this section
Energy Intelligence Options
This enables you to refresh the Tenant Billing related data to Sigma Energy Intelligence.
Click Energy Intelligence Actions
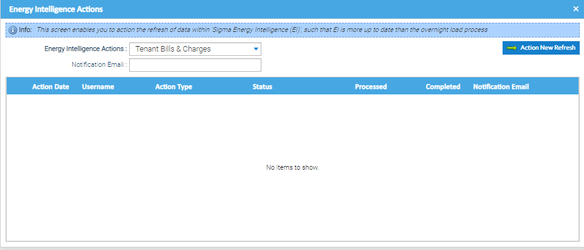
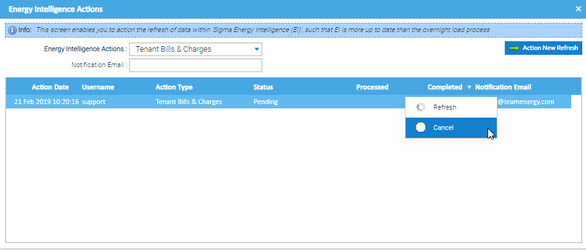
The Energy Intelligence Actions pop-up opens.
The table provides a view of the last 10 refresh actions.
| Field | Description |
|---|---|
| Energy Intelligence Actions | Choose from the dropdown |
| Notification Email | Enter an email address to receive a notification the refresh has been actioned (not mandatory) |
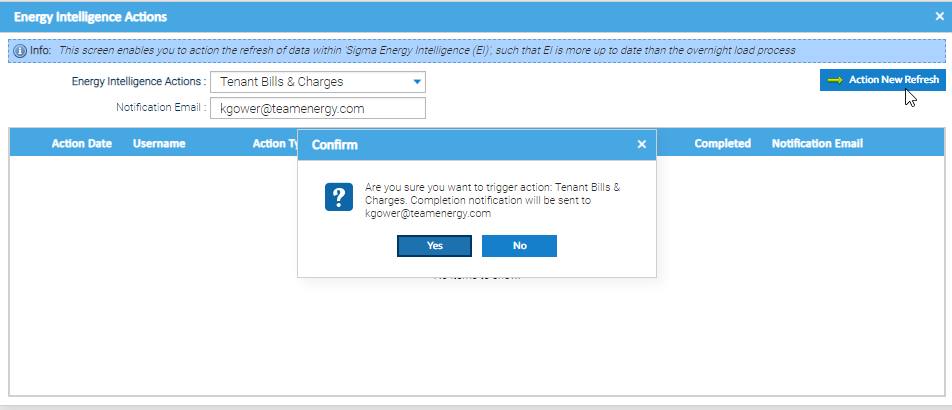
Click to action the refresh. click Yes on the pop-up |
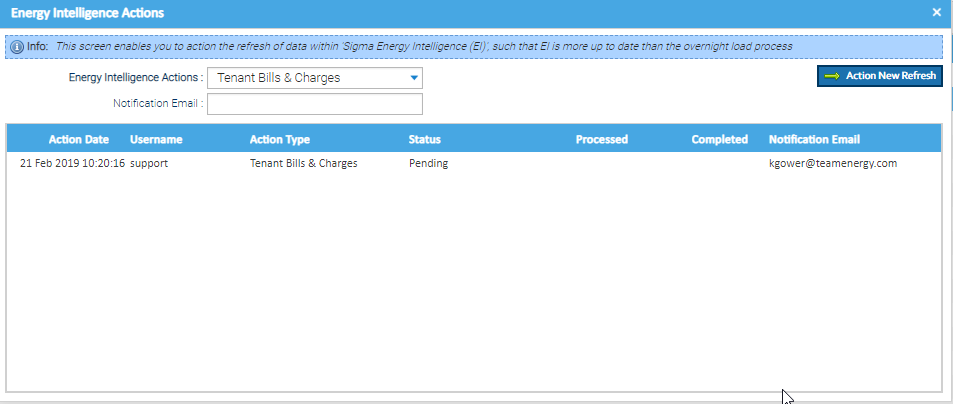
The refresh is displayed with a status of Pending
When the refresh has been actioned, the status will be updated to Complete.
Cancelling a Refresh
Right click on the refresh line
Click Cancel
Click on the X to close the pop-up
Refreshing the pop-up
To check in the refresh has completed:
Right click on the pop-up
Click Refresh
The updated status will show.
Once complete, go to Energy Intelligence to run reports with the refreshed data.
