Overdue data is defined as interval meter reading data that is now deemed as missing as it has not been received from the date it was last expected. It also highlights where no data at all has been received.
...
| Excerpt | |||||||
|---|---|---|---|---|---|---|---|
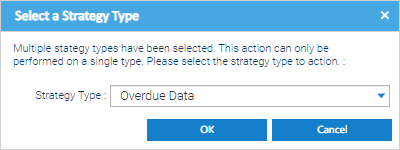
Where the strategy was configured not to auto-fill all gaps for you, then these can be manually resolved using the "Resolve" functionality available. Highlight the applicable Overdue Data Notification(s) in the list.
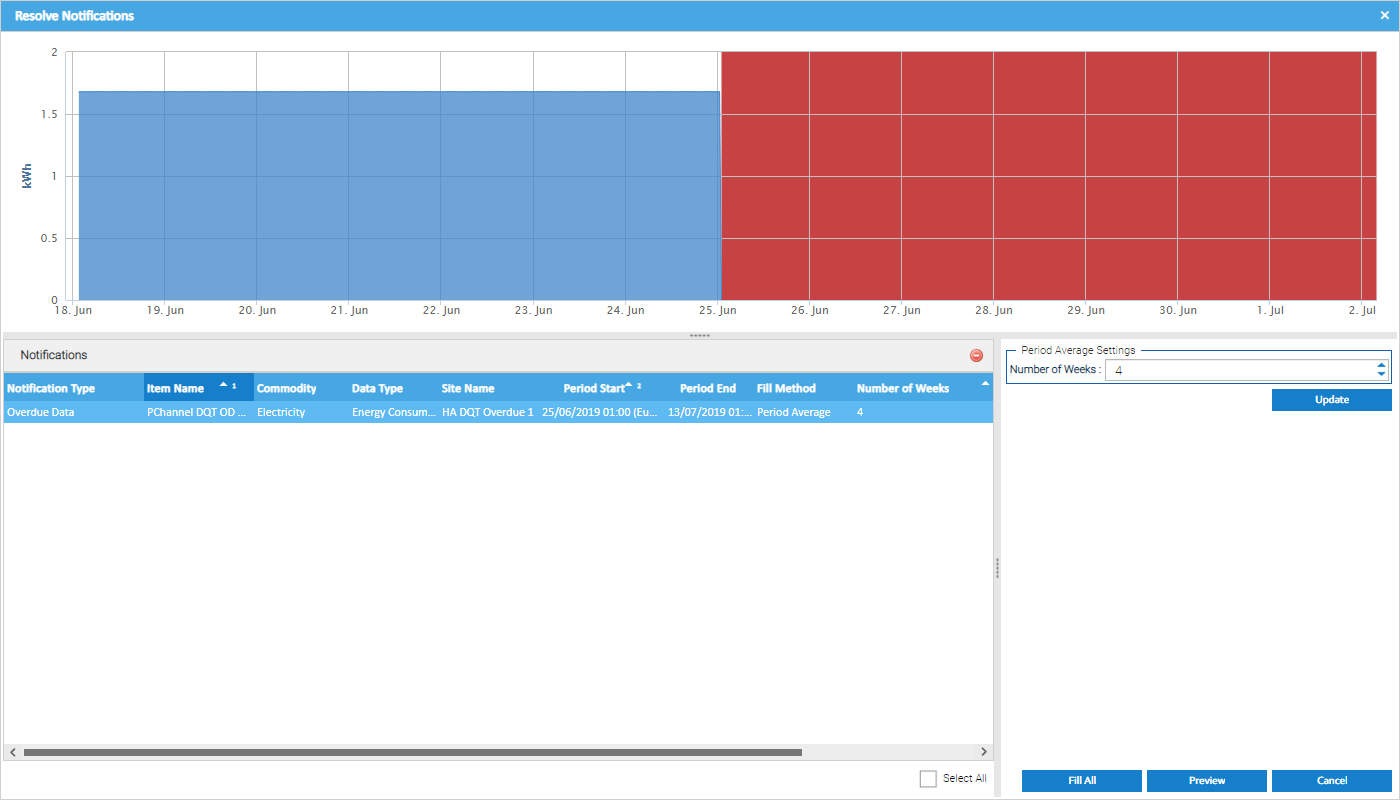
The Resolve Notifications popup will be displayed, showing a list of the Notifications being resolved.
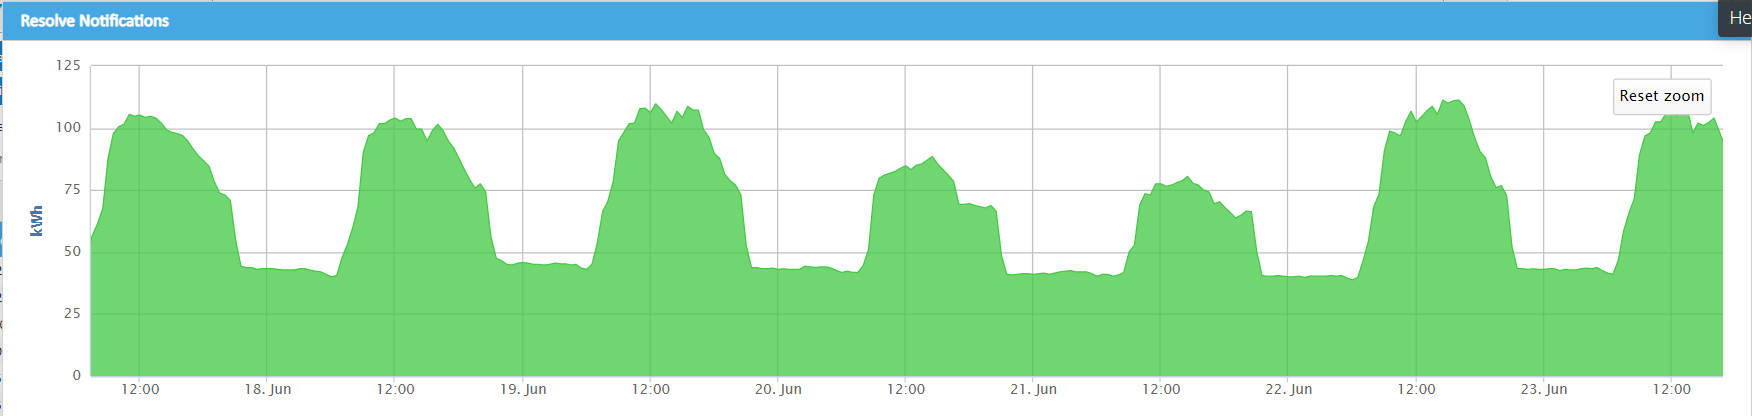
The graph at the top shows the periodic data for the channel linked to the notification selected. The red area shows the period of time for the missing overdue data.
Actions - Overdue DataUpdate Period Average SettingYou can change the number of Weeks used as a basis for calculating the data to use when filling the overdue period. Select all the Notification records it should apply to then click Update. This will update the period to use when calculating the averaged data to fill the gap.
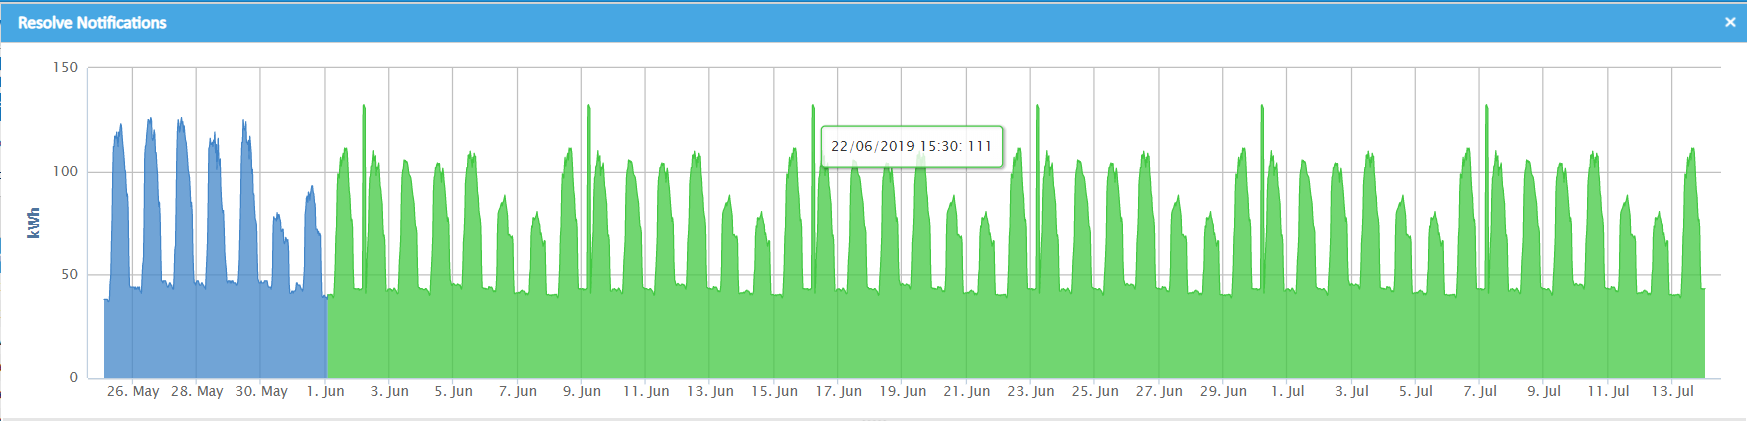
PreviewIf you want to see what the estimated data will look like, click This will show you what the resolution would look like for the Notification that has been selected in the list. The extrapolated period is highlighted in green.
Fill
The Resolve Notifications pop up appears:
A Note can be optionally entered, if required and will be stored against the Notification.
The following confirmation popup will be displayed:
Cancel
|


| Insert excerpt | ||||||||
|---|---|---|---|---|---|---|---|---|
|