| Table of Contents |
|---|
...
- Click on OK to confirm the removal of the Import Agent. The Delete Item pop-up closes and the Import Agent is removed from the left hand pane.
- Alternatively, click on Cancel to abandon the removal, close the Delete Item pop-up and re-display the left hand pane unchanged.
| Anchor | ||||
|---|---|---|---|---|
|
This section describes how to install and run the SIA at each Site - this covers both new installations and updating an existing installation.
SIA Release Mechanism
Periodically new versions of the SIA software will be issued containing enhancements or bug fixes. These will typically be issued alongside an upgrade to the Sigma Cloud and you will be notified where its is recommended that you upgrade to the latest version.
When the SIA is upgraded an installer file will be provided. This file can be downloaded from the following location on the Sigma Support Help Centre:
https://support.teamenergy.com/hc/en-gb/categories/201555829-Sigma-Software-DownloadsNew SIA packages are designed to be backwards compatible, so will usually continue to work even though newer versions have been issued.
Pre-requisites
If this is the first time you are installing the SIA then you must first contact TEAM Support for your SIA password. You will need this when running the SIA Installer.
...
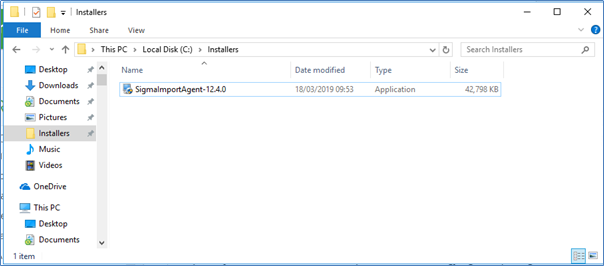
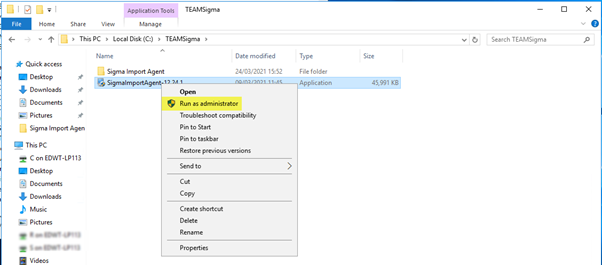
- Navigate to the file location on your PC where the SIA Installer file has been saved and double-right click on the application file and select “Run as Administrator” to run the SIA Installer.
Specify Java Installation Version
A pop-up asks you for the filepath of the relevant Java installation version
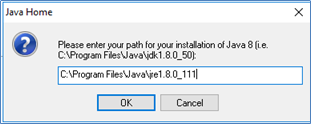
- Enter the requested details and then click on OK.Click
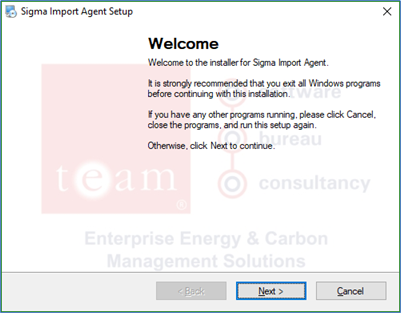
- The next pop-up allows you to close any Windows programs that are running before starting the SIA Installer.
- Note you can find the path by navigating to C:\Program Files\Java and the directory that appears in there. This will look something like the above screenshot, it is likely the last 3 digits may be different depending on the version number installed.
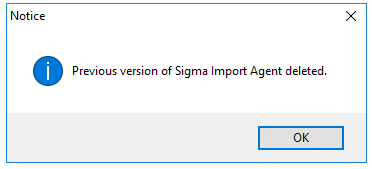
- If you are upgrading an existing version of the SIA, then the existing "Sigma Import Agent" windows service will be removed as it will be replaced by the new version. You will likely see a message pop up like the following. You will not see this message if this is the first installation of the SIA.
- The next pop-up allows you to close any Windows programs that are running before starting the SIA Installer.
- Click on Next to continue.
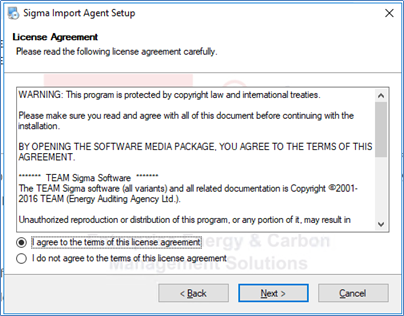
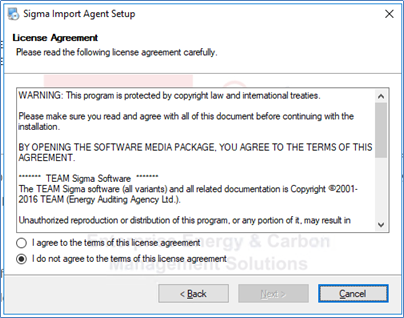
Review License Agreement TermsLicense Agreement Terms
- The next pop-up provides details of the License Agreement.

- Once you have reviewed the details, click on Cancel if you want to stop the installation, otherwise click on the ‘I agree …’ option and then click on Next to continue.
Define the Installation Folder
- The next pop-up provides details asks you for the filepath of the License Agreement.
- Once you have reviewed the details, click on Cancel if you want to stop the installation, otherwise click on the ‘I agree …’ option installed SIA. If you are upgrading an existing installation of the SIA, this should reflect the current installation directory. Note C:\TeamSigma is the default.
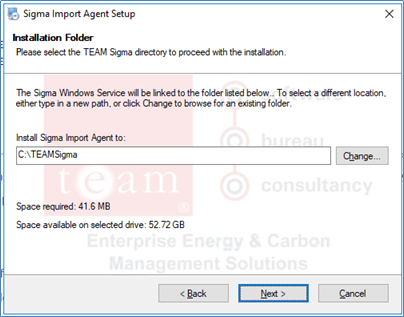
- Enter the requested details and then click on Next to continue.
...
- A folder named Sigma Import Agent will be created under this location.
Enter Credentials for Running the SIA
- The next pop-up asks allows you for the filepath of the installed to enter the credentials for running the SIA.

- Enter the requested details and then click on Next to continue. A folder named Sigma Import Agent will be created under this location.
Enter Credentials for Running the SIA
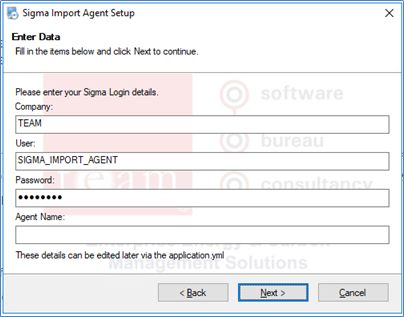
- The next pop-up allows you to enter the credentials for running the SIA.
...
- If you are upgrading an existing Sigma Import Agent:
- These details will need to be copied from the existing “application.yml” file that exists in the current SIA installation directory (by default this well be C:\TEAMSigma\Sigma Import Agent)
- Open this file in a Notepad Editor and copy the relevant company, user, password and agentname details into the fields on the installation screen.
- If this is the first time installing the Sigma Importing Agent:
- Enter the Company database name in the Company
- Enter “SIGMA_IMPORT_AGENT” in the User
- Enter the SIA password provided by TEAM Support in the Password field
- Enter the Name of the Import Agent that represents the SIA instance.
- You can leave this field blank, in which case the installation will automatically specify ‘DEFAULT’ and, when the SIA starts, it will begin looking for and running import schedules for the ‘DEFAULT’ Import Agent.
- If you enter the Name of an Import Agent that has not yet been configured in Sigma then, when the SIA starts, it will begin looking for, but will not find any import schedules for the specified Import Agent. The SIA will continue looking until the Import Agent has been set up in Sigma and assigned to one or more import schedules. These schedules would then only be picked up at the next SIA refresh.
- Click on Next to continue.
Complete the SIA Installation
- The next pop-up screen confirms that the installation can proceed.
...
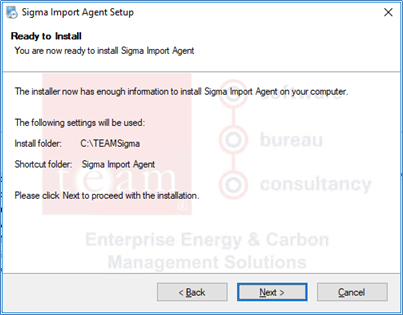
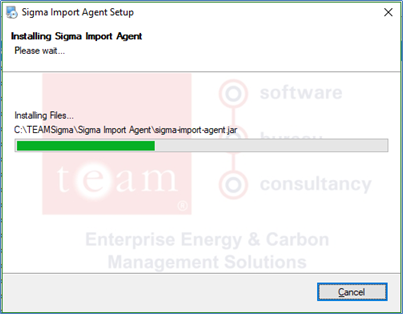
- Click on Next to continue. The installation should take less than a minute to complete.
...
Start the Sigma Import Agent Service
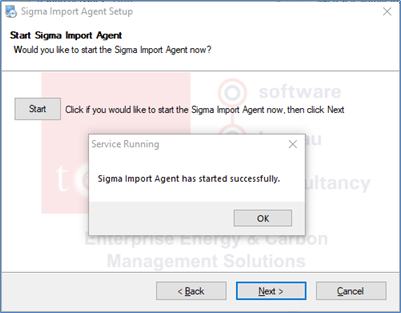
- When the files have been installed, the next pop-up allows you to (optionally) start the SIA service.
...
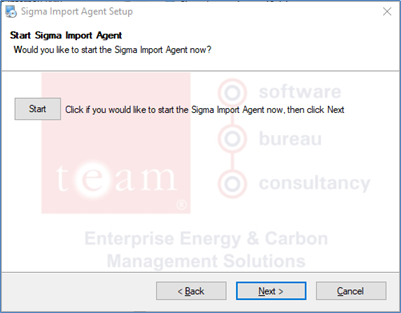
- Click on Start to start the SIA service immediately, or you can start it later from the Task Manager.
- If you experience any error messages starting it from here, you will need to Stop/Start the service via the Task Manager.
- Click on Next to complete the installation. If you clicked on Start, you should see a message telling you that the SIA started successfully.
...
Complete and Check the Installation
- The next pop-up confirms that the SIA installation has completed successfully.
...
- Click on Finish to exit the SIA Installer.
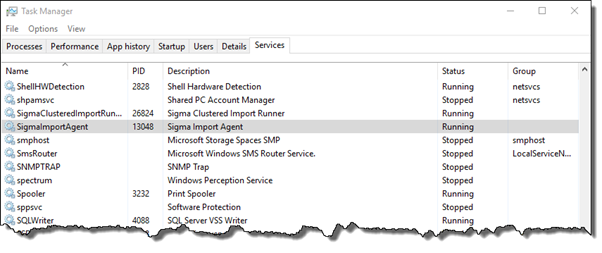
- Open the Task Manager to confirm that the ‘Sigma Import Agent’ service is now running.

View Log files
...
Both the Periodic and Non Periodic Importers use the ExtendedLog table in the TAC MSSQL database to source data for channels. The Continuum Importers support multiple agents, the agent name needs to be included in the DataLoad Id to identify which database should be used. The system processes all channels where the Data Load ID 1 starts with "tac://". A Continuum Compliant dataload ID will look as follows:
| Pattern: | tac://<AGENT-NAME>/<SOURCE>/<HIGH-POINT-ID>:<LOW-POINT-ID> |
| Example: | tac://DEFAULT/i/1010834776:1090526341 |
The system then runs the following SQL to get the data for the channel:
...