Once a Schedule has been created using the Importing Activity, it can be managed in the Schedule Management Activity.
A schedule represents an importing or reporting configuration that has previously been setup to run either as a single instance or on an ongoing periodic basis.
All schedules will show in the list, and they will either be to import consumption data (e.g. half hourly profiles) or to run a report.
The Activity has three sections:
For each Schedule in the list, you can:
To open the Activity:


This section shows a series of information in the columns on the screen:

There are 7 columns available. These can be added/hidden by clicking on the downward arrow on the Column Header > clicking Columns and ticking or unticking |
There are three options at the top of the Activity:
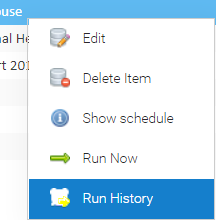
Right click on a Schedule, and you have the following options:

Each of these options are explained in more detail below:
This allows you to view/edit the details of the Schedule such as the Name, Description, Configuration, Email Address, File Format, etc.
alternatively
This will delete the Schedule are remove it from the list.
Please note that deleting a Schedule will also remove all run history information. If you want to maintain a history of information for a period of time, set the status to "Inactive". |
This will show the next 25 occurrences that are due to be triggered for the schedule - it will show the date and time of each one.
This is a manual override to run the Schedule (ahead of the next date and time it is automatically due to run). For example, you may have a Schedule to import your Half Hourly data. The schedule is set to collect the data on the 1st of the month, but the data hadn't wasn't sent to the email account until the 2nd. Instead of waiting for Sigma to import it the following month, click Run Now and the Schedule will be run immediately.
This will open the Run History for Schedule Editor showing a list of each time the Schedule has run in the last six months.

See below for more details.
There are 16 columns available.
These can be added/hidden by clicking on the downward arrow on the Column Header > clicking Columns and ticking or unticking
Once you have opened the Run History for Schedule Editor, you have 5 options:


If the Schedule has been successful:

Again, there is a Filter and a Refresh button.

This will give you detailed information about the execution of the schedule showing you the content of the import file and if there were any issues encountered, an explanation of what hasn't worked and why.
There are four status options:

Each line details the:
 to open the Item Editor for the applicable item (e.g. the Channel Editor)
 to export the data
If a Schedule has not been successful, i.e. in the Schedule Status it shows as Failure, you can see the details of the failure by clicking on Download Error Log.
A text file will be downloaded via the browser which will show the reason for the error.
For example, where the authentication credentials setup against the schedule, an error message like the following might be dispayed:

If it is not clear what has caused the failure, then please contact the Sigma Support Helpdesk, who will be happy to help you further with the investigation. |

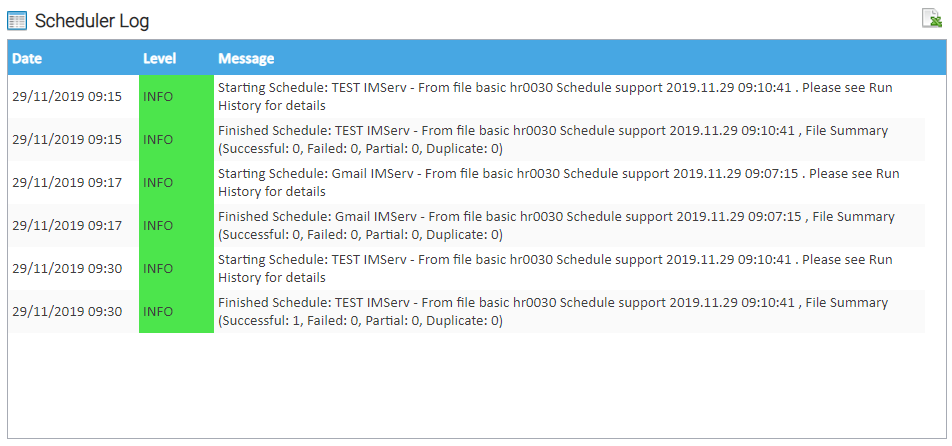
The Schedule Log section will show details of the last Schedules run, giving the time, and message details

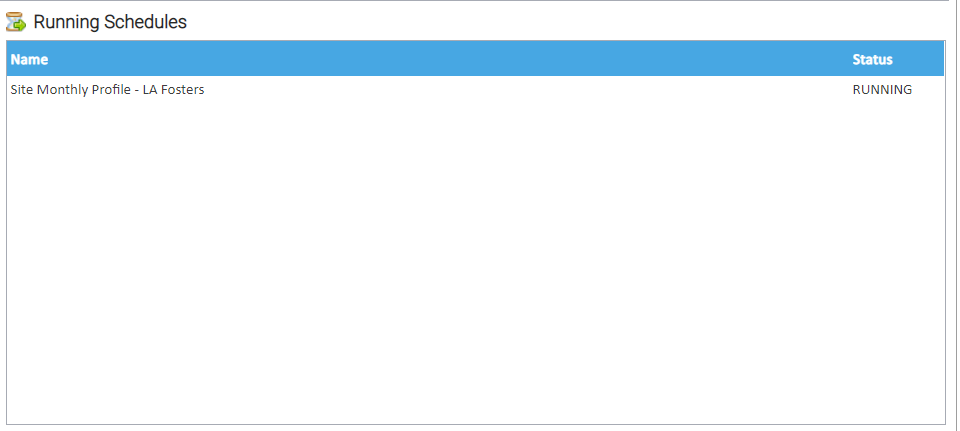
The Running Schedules section will show any Schedules that are currently running.
