| Table of Contents |
|---|
...
- Highlight the Site in the Data Selector
- Click Actions
- Click Setup Wizards
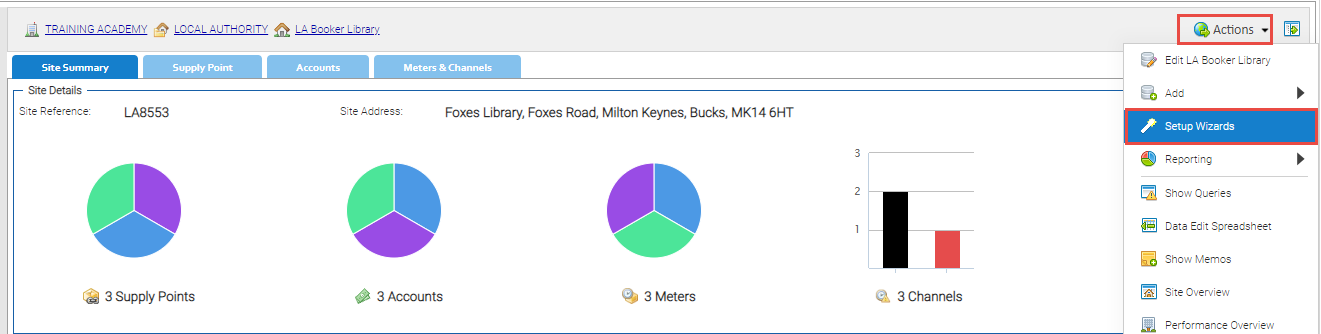
The Wizard pop up appears:
...
Choose Your Supply Type section
- Select the Supply Type
- Billing (to set up Account and Meter, but no Channel)
- HF Supply (to set up Meter and Channel, but no Account)
- Billing and HF Supply (to set up Accounts and Meters)
...
Choose your Supply Commodity section
- Choose the Commodity
- Electric, Gas, Water etc
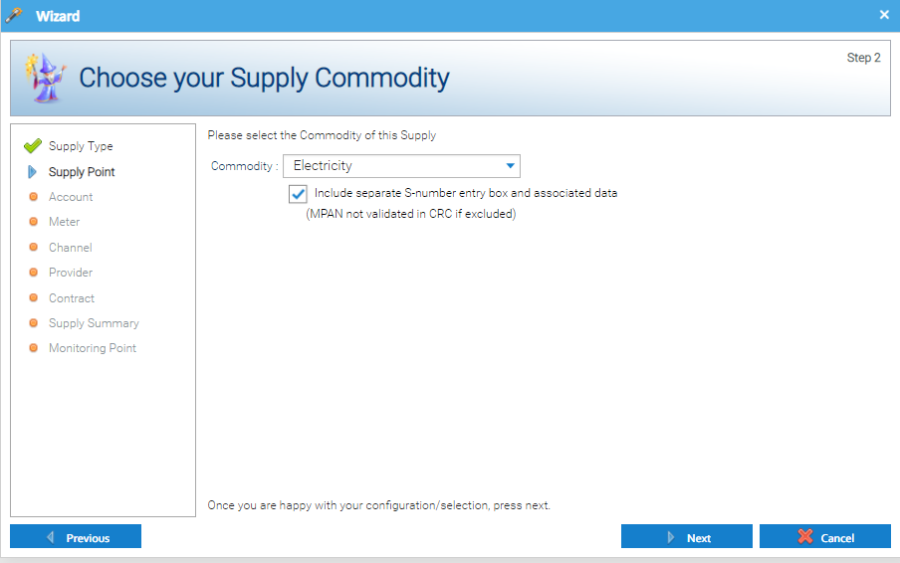
- Click Next
Specify a Supply Point section
- Enter the MPAN, MPRN or SPID
- Click Validate and Search
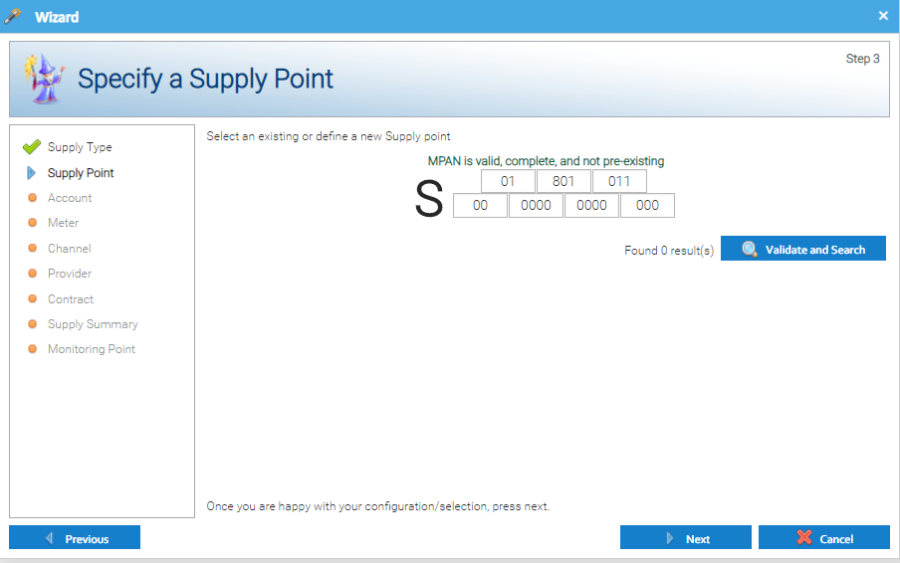
- Click Next
- Copy and paste the Supply Point from the Name field to the Reference field
...
- Enter the Account Number
- Click Validate and Search
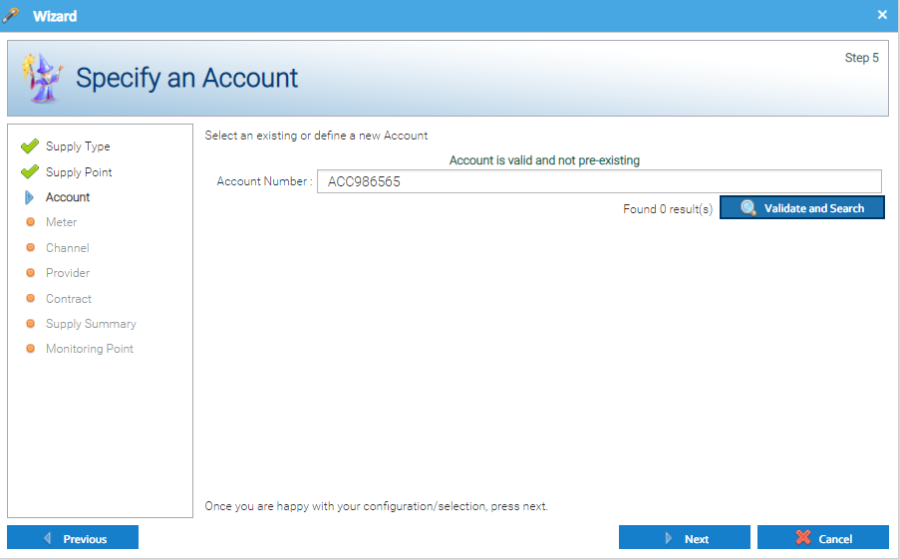
- Click Next
Configure your Account section
- Enter the Meter Serial number (to appear in the Account Editor popup)
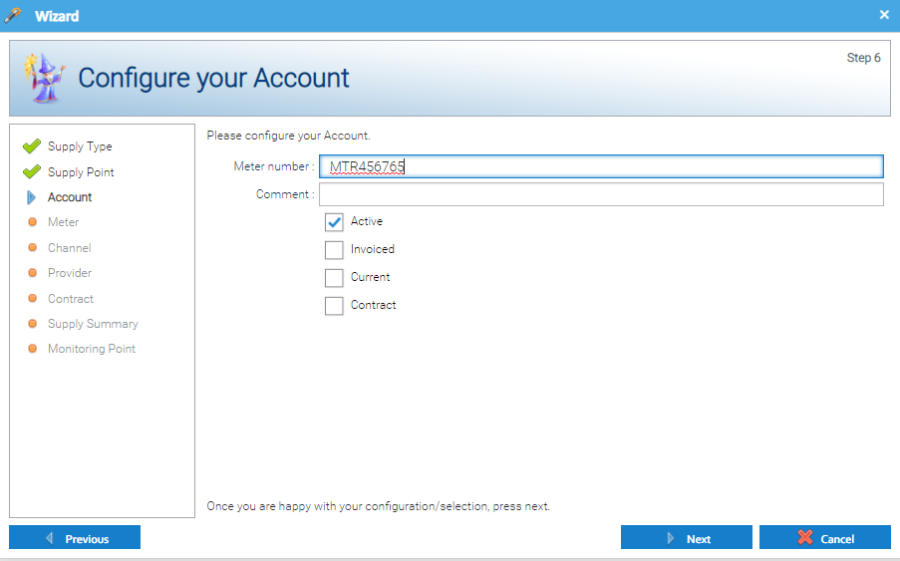
- Click Next
Specify a Meter section
- The Meter number will be prefilled from the previous screen
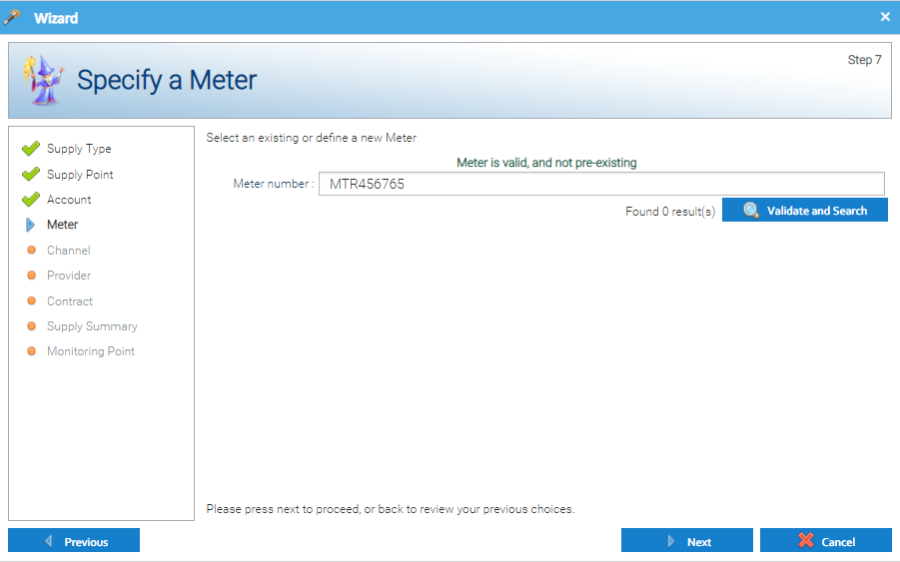
- Click Next
- Enter the Meter Name (usually the same as the Meter Number)
- Enter the Identifier (usually the same as the Meter Number)
- Choose the Meter Type
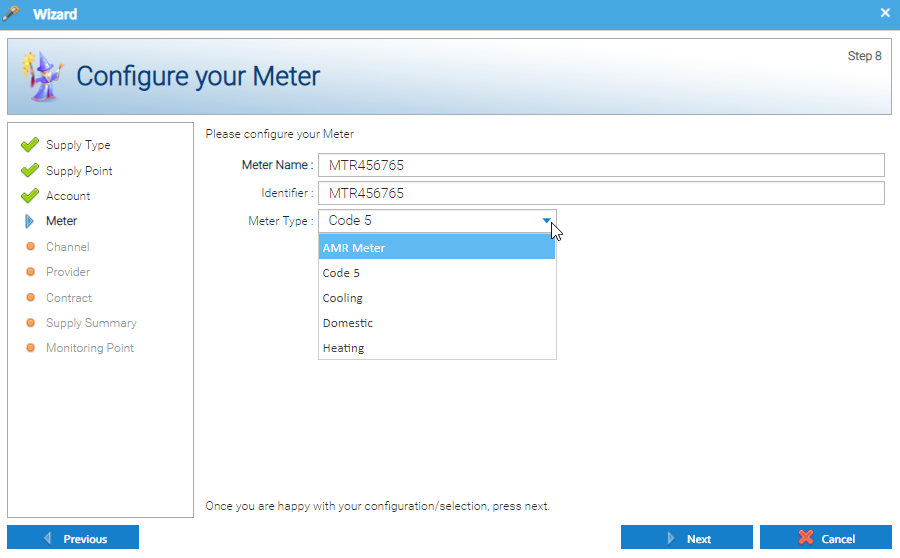
- Click Next
Specify a Channel section
- Enter the Channel Name (usually the Supply Number or the Meter Number)
- Click Validate and Search

- Click Next
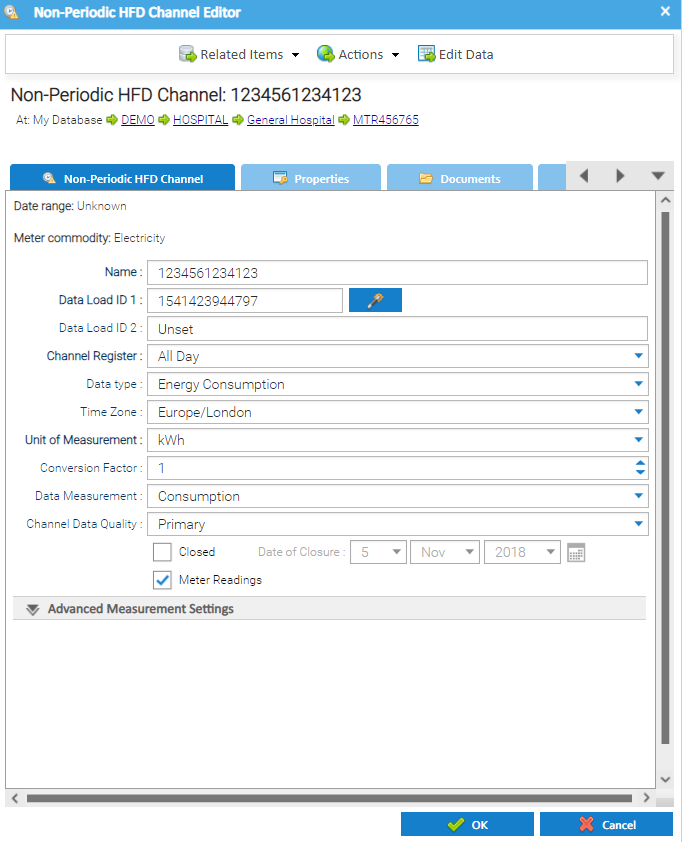
Configure the Channel section
...
- Description – prefilled
- Financial Code – Add if used
- Tick Meter Operator, Data Collector or Supplier
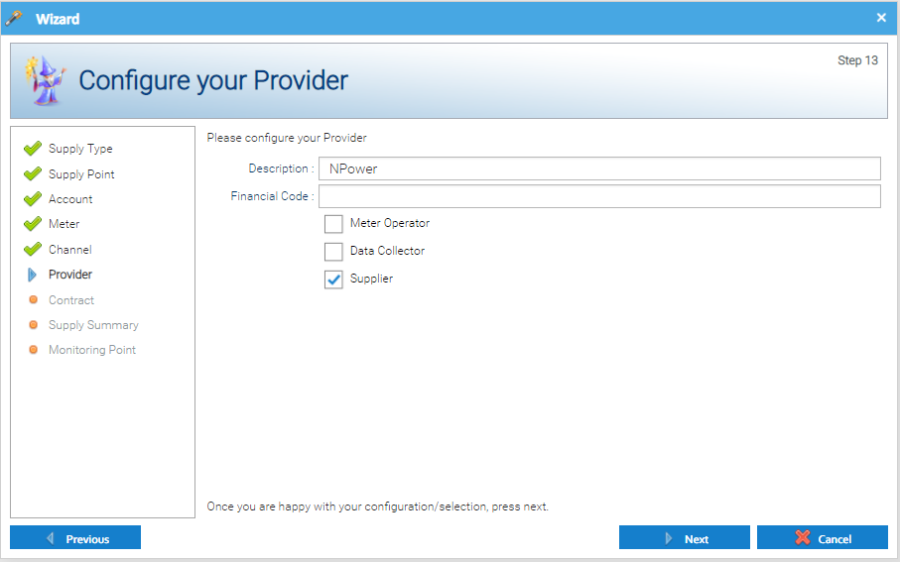
- Click Next
Specify a Contract section
...
- Click Next
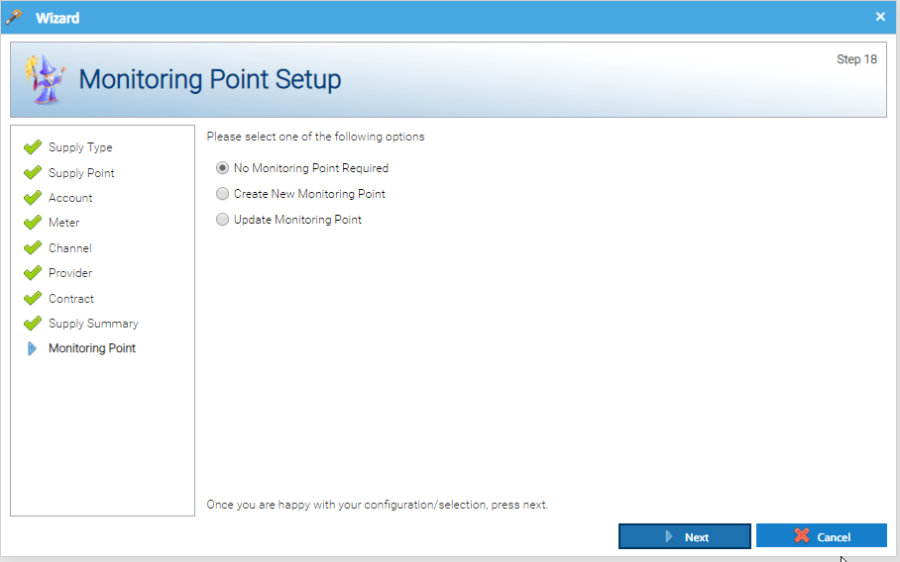
(Monitoring Points are covered here in the User Manual)
...
- Click OK to save
Assigning an Asset Type to the Supply Point, Meter and/or Account
If you want to show an Asset Type against the newly created Supply Point, Meter and/or Account, this needs to be done from the individual Items, or in bulk.
Click below for more information.
Assigning a Meter Relationship to the Meter
...